
Hello crafty friends! Today I’m sharing a little spring scene with lots of Tim Holtz goodies incorporated. This idea came to me back when the snow was almost melted, and even though everything was still a little brown and dull, the birds were singing to let us know it was finally spring (hallelujah!).
Let me show you a little of my process for this creation...

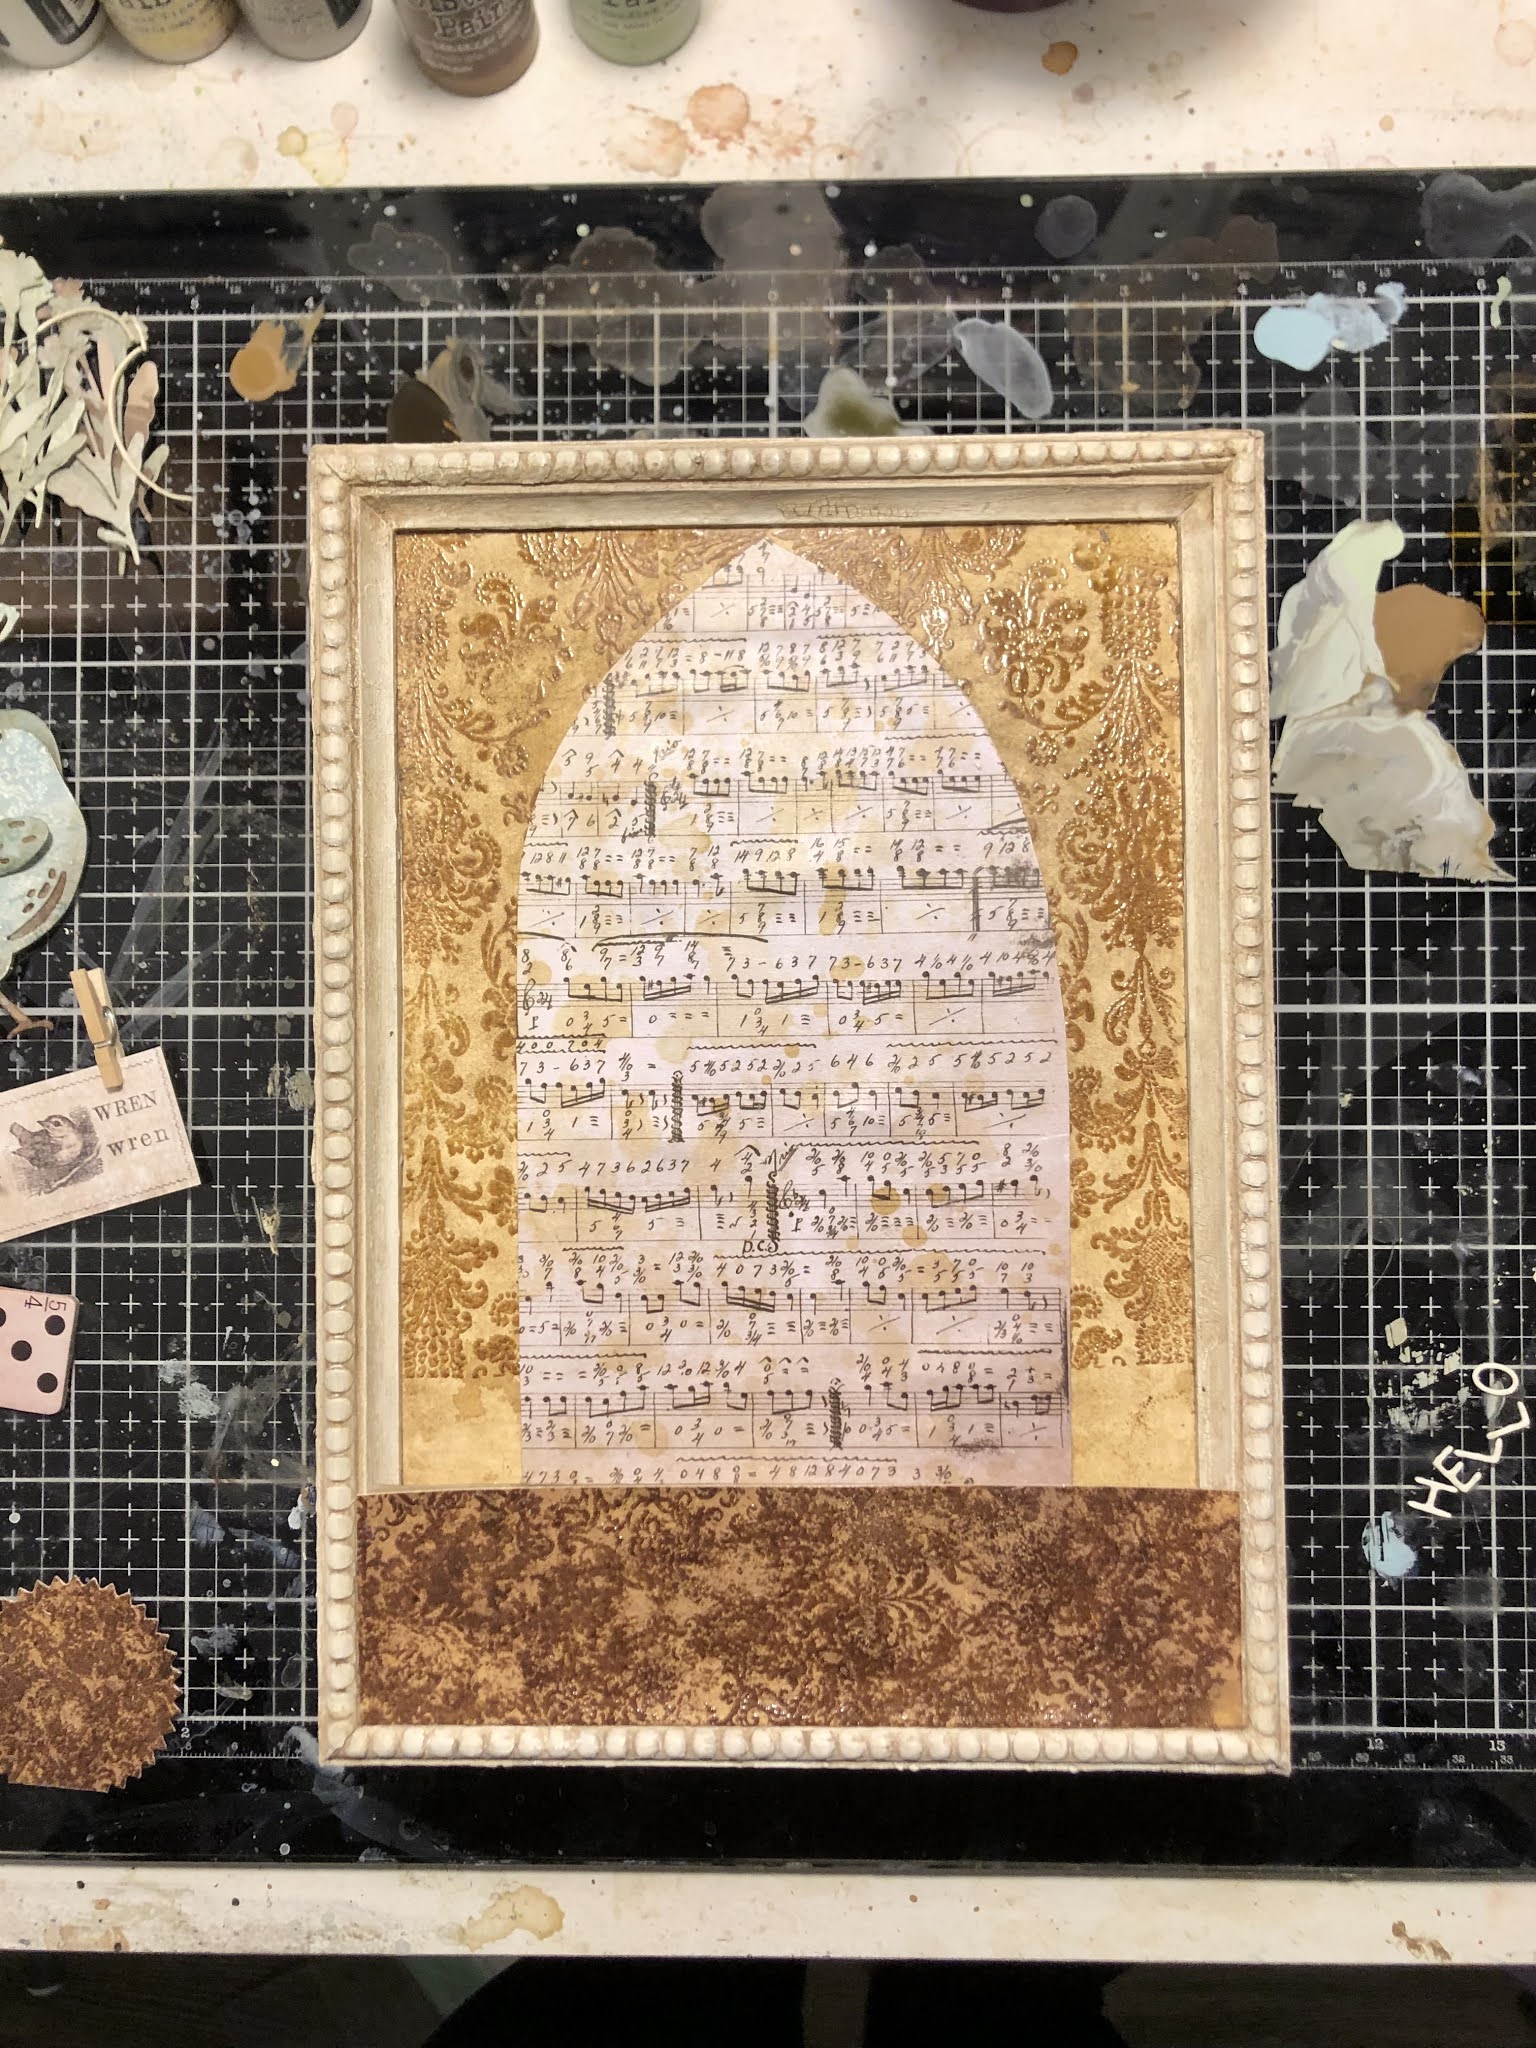
The Arched Window + Ledge…
I knew I wanted to use a cathedral thick board with a ledge underneath. So to build my ledge, I used two bracket trims and a scalloped trim piece and glued them together before adding a generous layer of crackle texture paste to both with a palette knife.


When the crackle was dry, I grunged it up with Walnut Stain distress crayon. Grungy crackle makes me so happy ✨
The Foliage + Bird and Nest…
Next, I made some of my own papers with Distress Paints in light blue (Weathered Wood and Speckled Egg), light green (Shabby Shutters and Bundled Sage), and brown tones (Vintage Photo and Gathered Twigs). Then stamped over the paint with VersaMark or Archival inks. The stamps used included Tapestry (CMS414), Faded Type (CMS397), and Ledger Script (CMS241). On the pieces with VersaMark, I sprinkled various embossing powders and Distress Glazes (including white, gold, clear, Vintage Photo and Walnut Stain), then heat set.

Then got to work cutting a ton of pieces from the Funky Nature set and the larger bird from Feathered Friends. I cut 3 sets of my bird from heavystock and glued together to get that extra thickness I love.
The Frame + Background…
I grabbed a Tim Holtz Ideaology framed panel that I had already started for something else. The frame and backer had already been glued together, painted with white gesso and stamped a bit, but the stamping would be covered with my new papers. I added some texture crackle paste randomly to the edges and rubbed some Walnut Stain distress crayon over it once it was dry to give it a little more depth and grunge.
Here’s how the layout looked at this stage...

At this point, I knew I wanted a little more contrast to make the cathedral window stand out better, so I made two more brown-ish papers from heavystock to fit my background.

I decided I would put my main text below the ledge, so I first cut a chipboard piece to fit there, then covered it with a piece of darker brown for plenty of contrast.
I added a musical paper from one of Tim’s paper packs (can’t remember which now 😬) , splattered on some caramel alcohol ink and placed as the background for my cathedral window.
Also started gathering/making some elements that would go ‘inside’ my window, like the domino from the Junk Drawer Baseboards set and scalloped circle from the labels die set, cut from the same brown paper I made for the bottom strip… always looking for ways to add some similar colors/elements at different focal points in the layout to help it all look like it all ‘belongs’ together. Was going for more of a nesty look, so sprinkling in some Excelsior here and there was perfect for that.

And, as an afterthought, I added a thick burnt orange circle, also from the Junk Drawers pack, just to make sure I had plenty of contrast for my bird.
Then I bent my window to get a nice curved look and added a piece of clear acetate behind it so I could ‘age’ it and maybe give the illusion of glass. I splattered on some caramel alcohol ink and darkened the tops of the curves (mostly covered in the end, but still cool). This is also the point that I inked my hardware heads with Caramel and added them to the frame corners and one in the center of my ledge.
Next, I cut my Hello Spring letters from heavystock using the Alphanumeric Labels font set. As always, I like them thicker so I cut 3 of each and glued together. They stayed mostly ‘heavystock’ color, because I just thought it contrasted so nicely. 😂

The Assembly + Finishing Touches...
Now that most of my elements were found/created, it was just a matter of assembling and securing everything down with collage medium.
Once I had my ‘thatched’ roof glued down, I wrapped some jute cord around the top and added some caramel-inked tiny bells with jump rings.
The text strips with “the pretty little birds chirped a welcome message” I found in the Clippings sticker book. Those clippings, man, they are so on point and spark a ton of ideas for me ⚡️Also found the “No. 24” clip and added to one of the eggs.

Also a last-minute add was the Junior Member pin in the nest, which is from the Vintage Flair pack.

The Le Grand Hotel piece, the number strips, and the bits in the clothespin bundle are from the Expedition ephemera pack.

Once everything was glued, I added more grit paste around my hardware heads and some random spots on the ledge and frame, then added a Caramel ink wash on top once the paste was dry.
There you have it, finally DONE (only one season late 😳)... And a lot of fun!
Thanks for looking!
x Erin

The Products...
Dies... Feathered Friends, Funky Nature, Labels, Alphanumeric label
Distress Paints... Vintage Photo, Shabby Shutters, Weathered Wood, Speckled Egg, Antique Linen, Walnut Stain, Bundled Sage
Embossing Powders... white, Princess gold, clear
Distress Glazes... Vintage Photo, Walnut Stain
Etcetera... Cathedral Thickboard, Scalloped trim, Bracket trim,
Ideaology... hardware heads, tiny bells, Junk Drawer Baseboards, Vintage Flair, Expedition ephemera pack, jump rings
Alcohol Ink... Caramel
Distress Crayon... Walnut Stain
Mediums... Crackle Texture Paste, Matte Collage Medium, VersaMark, white gesso
Surfaces... Framed Panel, heavystock, clear acetate
Other... Excelsior, mini clothespin, jute cord