Hello hello! And thanks for visiting ☺️
Just can’t go wrong playing with a bubbly background and these sweet fish to pass a few hot summer days 😅🫧


The sand (aka mini art stones) was added last and, for me, it makes the whole scene pop 💥 Also thrilled with the little ledge along the bottom - very sturdy, one to remember! 📌
Let’s get into more detail about how I put this project together!
The Background…
Began by trimming two cuts of the Bubbling die so they would line up seamlessly on a small thickboard tag, glued with collage medium. Once dry, I went back and folded over the side/top edges


Painted with Speckled Egg, then collage medium, then Speckled Egg again

Decided to go back and cover the tag hole 🕳 used a 1/2” punch to make a little heavystock circle and glued underneath


To help fuse the paper and background together, I covered with clear emboss ink + clear powder, then heat set

Now to grunge it up a bit! ✨ used a distress blending brush to rub on a layer of Gathered Twigs crayon, then wiped it back with a paper towel


At this point, wanted even more of an underwater look, so I coated the background and edges with Glossy Accents and set aside to dry

The Ledge…
Decided I needed a ledge at the bottom for everything to rest on (+ hide some of the layer chaos)…
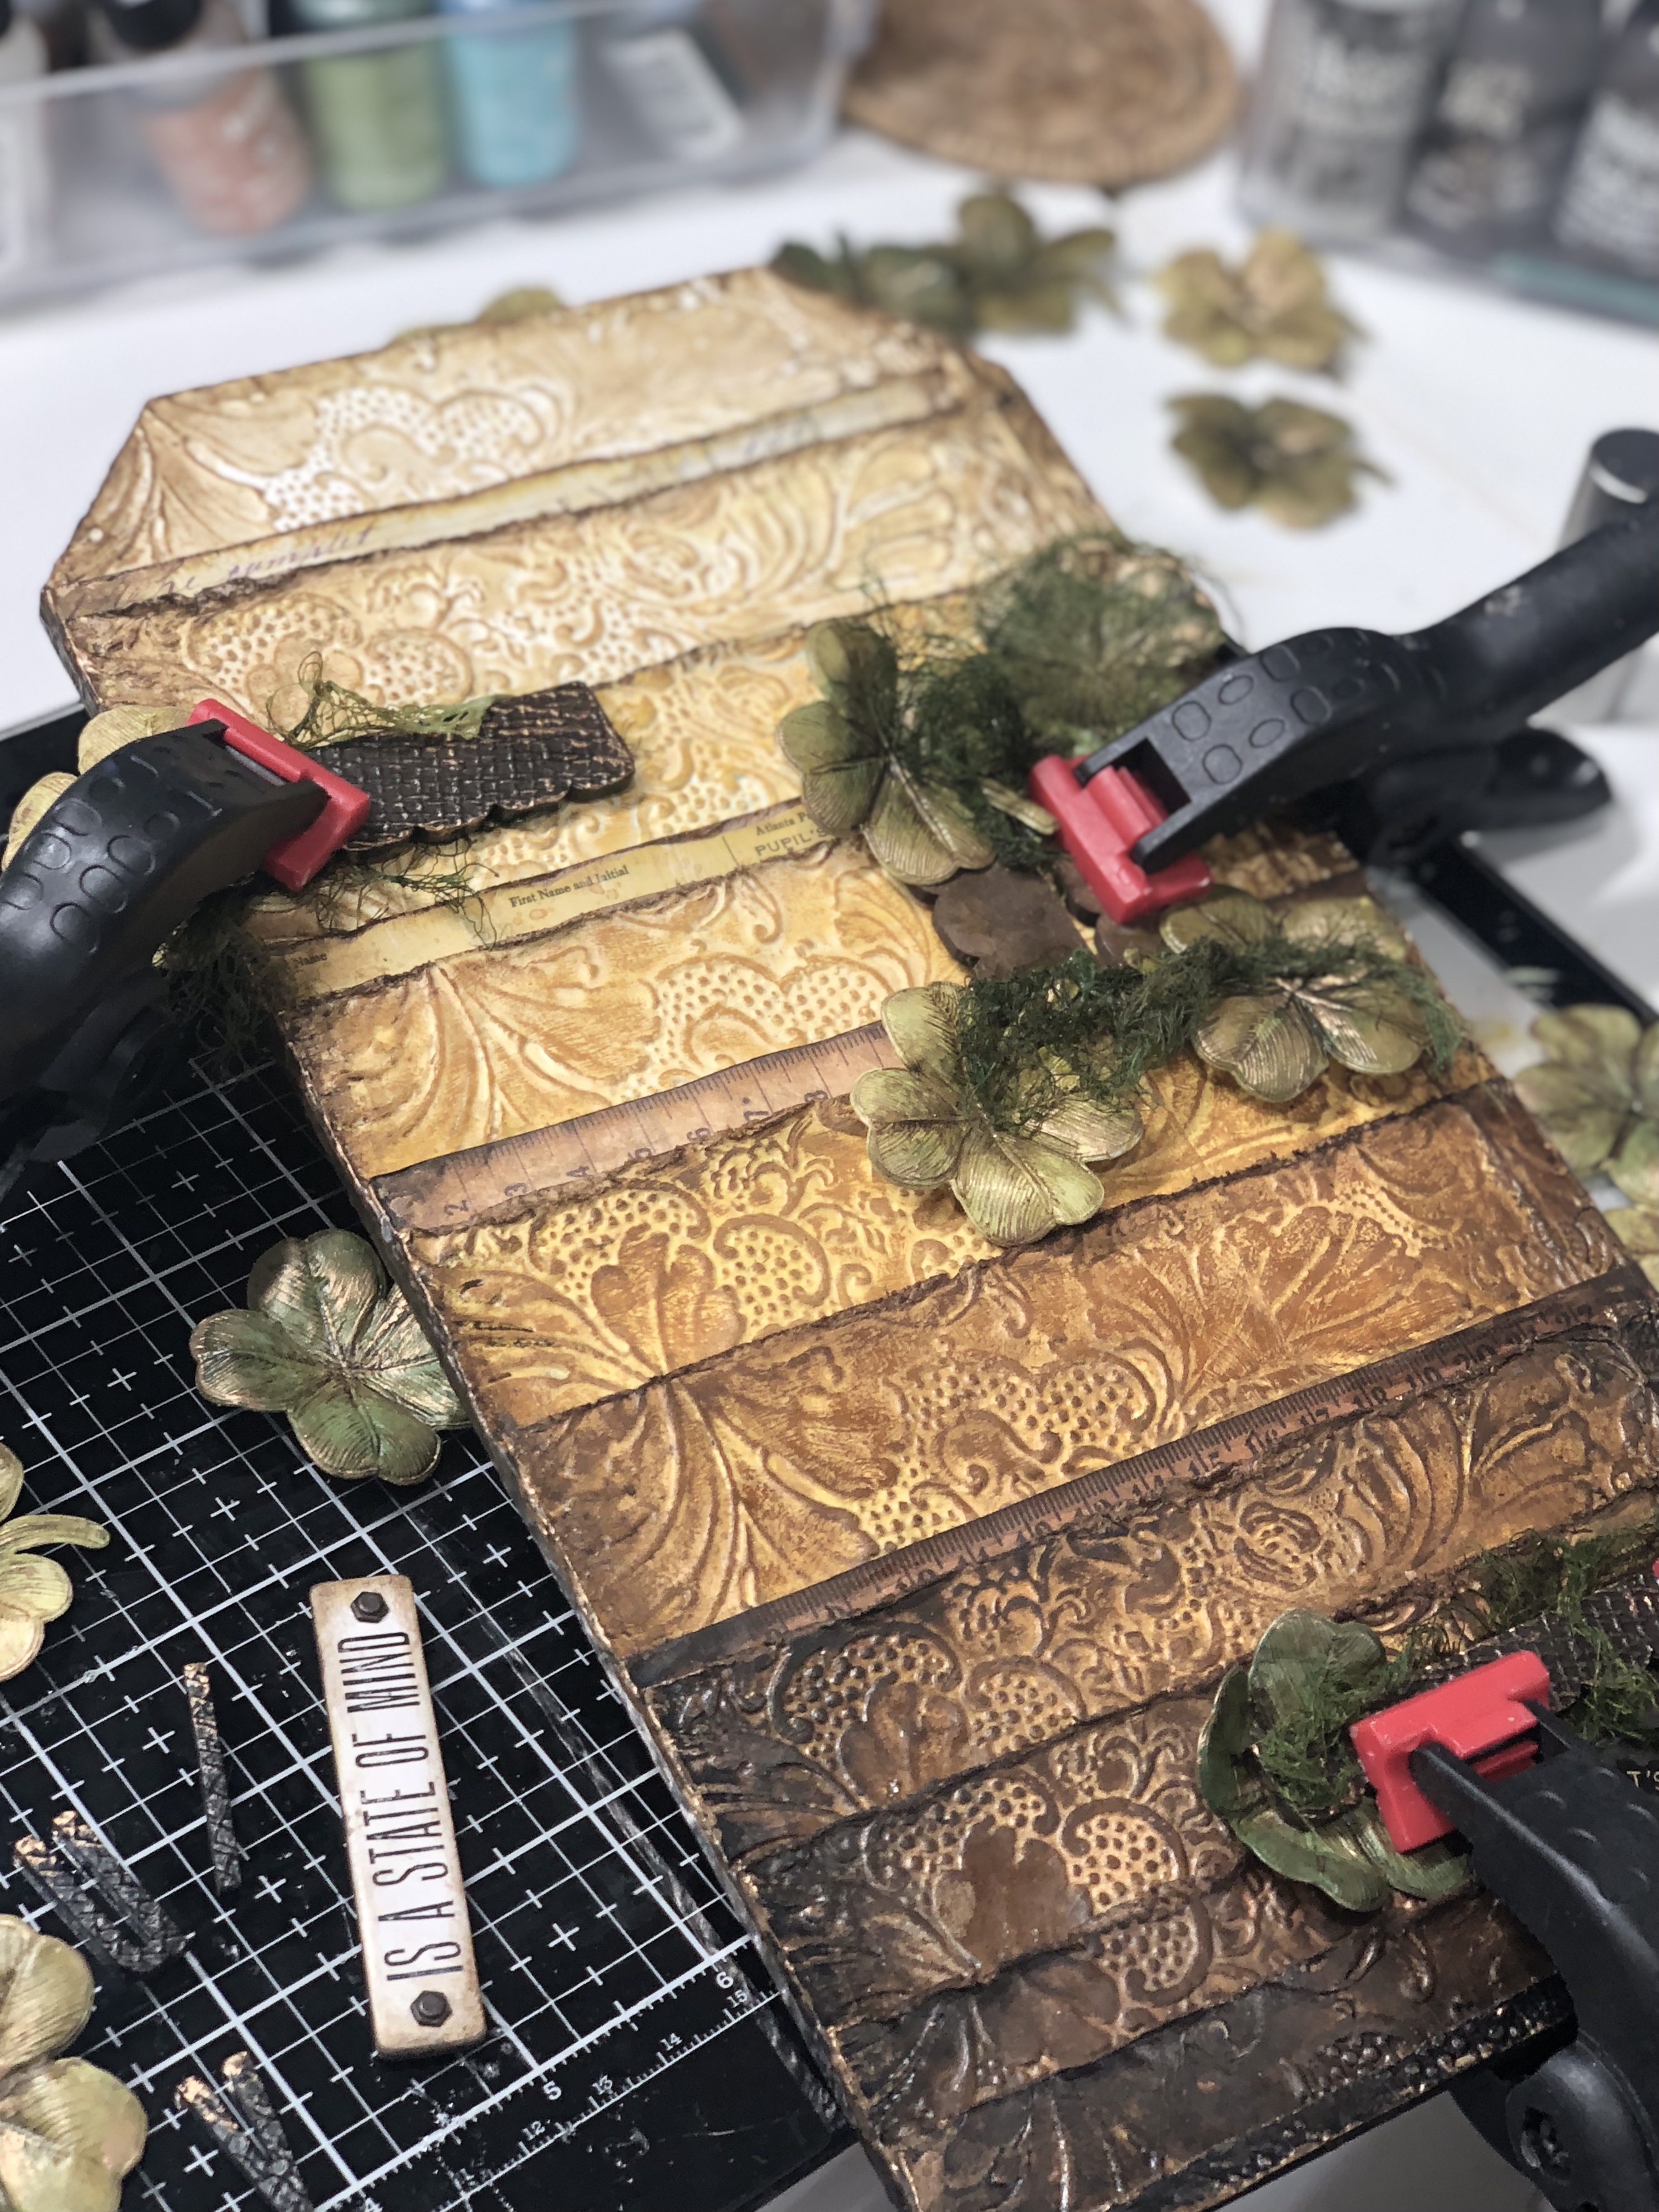
Used two chipboard pieces of scalloped trim and cut two strips of heavystock (1x6”ish), then scored + folded in half

Painted the trim and paper strips with Ground Espresso

Once I had my trim pieces glued on the bottom of the tag, I used the paper strips to reinforce and keep it level — one strip behind/under the tag and ledge, one over the top, clamp and let dry. It’s weirdly strong and I’m weirdly obsessed haha 💪🏻


The Plants…
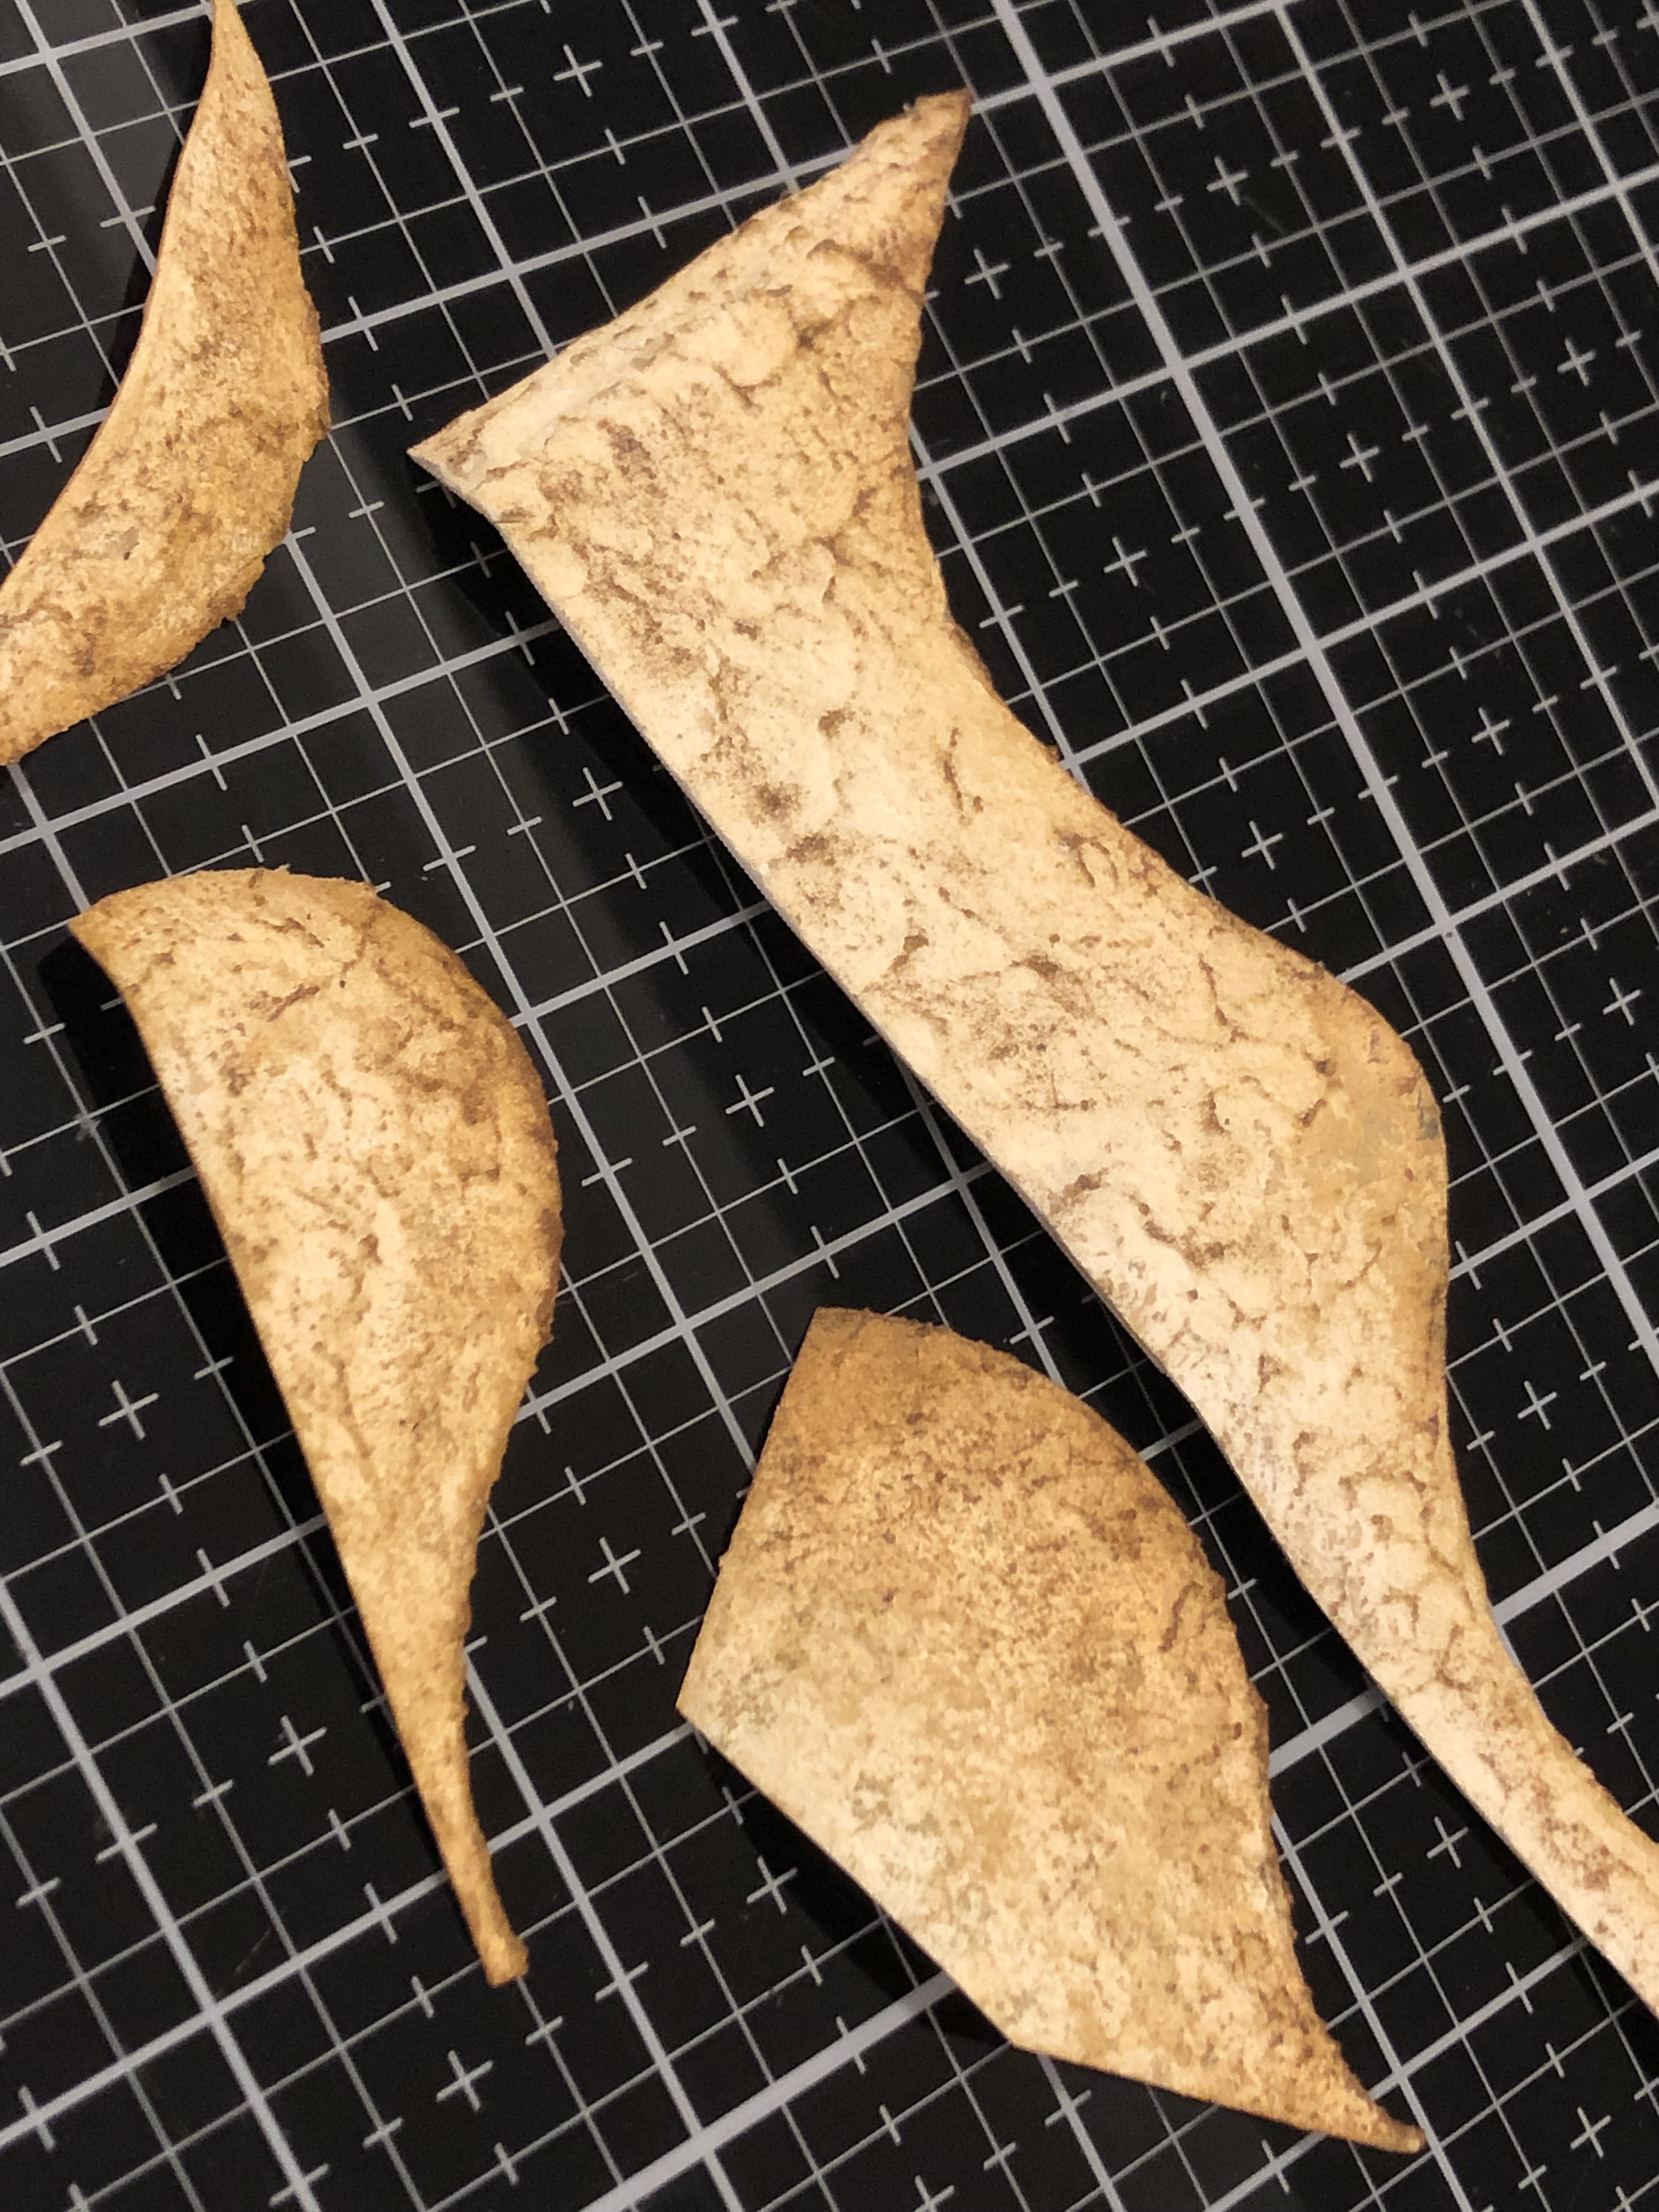
Cut some ‘flowy’ pieces from the Funky Florals 1 and Funky Nature sets and painted with distress greens

The Sand Dunes…
I used the Home for the Holidays hilly die to make my sand, cut several pieces from heavystock and connected them to be the length of my tag + some smaller hills


Covered with grit paste

Painted with a wash of Brushed Cordoroy, then Vintage Photo to darken the top edges

Rubbed Vintage Photo archival ink lightly over the top to highlight the texture (💣.com)
Added a few mounting dots to the backs for extra dimension (+ space to tuck in all the things)

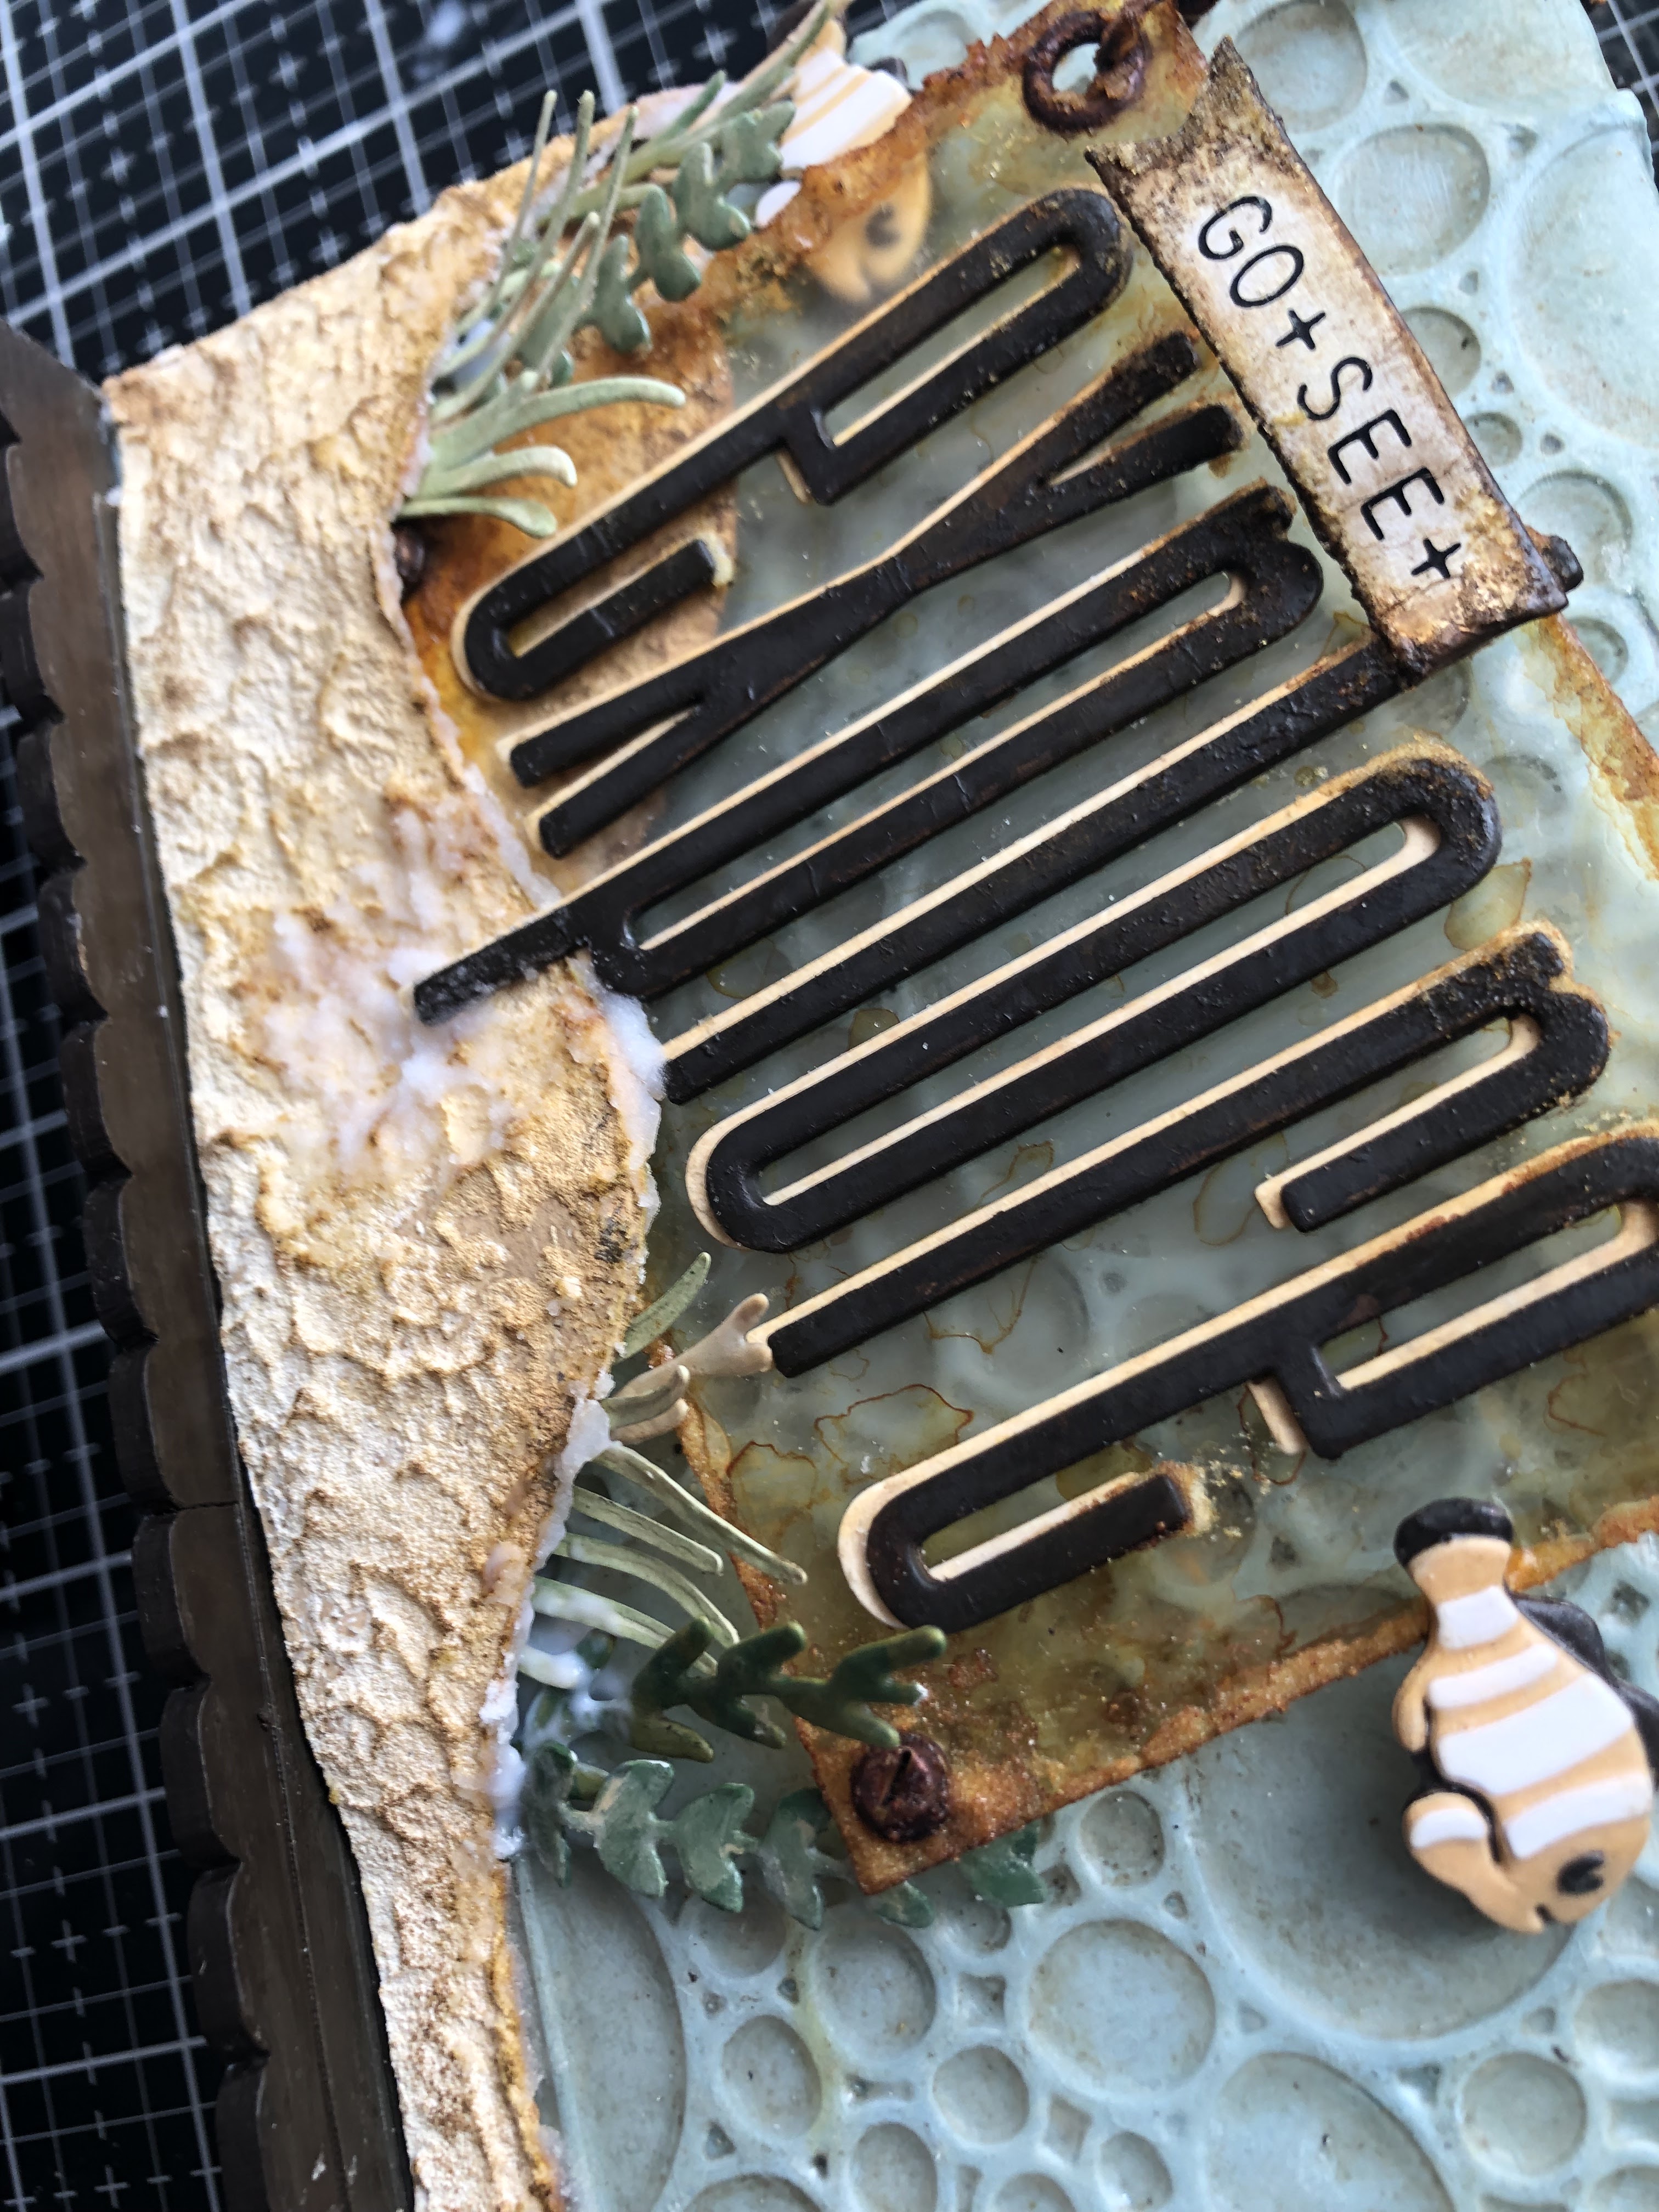
The Explore sign…
Cut 4 sets of “explore” from the Stretch font set, glued 3 sets together and painted with Ground Espresso, painted the remaining set with Brushed Corduroy

Gathered my Ideaology pieces…
Hardware heads, two chains from hook clasps (removed the clasps) with added jump rings, and some metal eyelets from my stash, tinted all with Caramel alcohol ink

Cut a piece of clear acetate (2x3”ish), used my crop-a-dile tool to set my eyelets in the top corners, glued my hardware heads in the bottom corners


Added several layers of translucent grit paste to the edges and coated with caramel ink

First covered the word explore on my quote chip, then decided to trim it into a little flag, painted the edges with Ground Espresso


Glued my letters down and added the flag to the L, more grit, more ink 😅


The Fish…
Cut two large + three smaller fish from the Under the Sea set

Painted my base layer (+ eyes) with Ground Espresso, second layers are variations of Scattered Straw and Rusty Hinge. Glued together and added a topcoat of Glossy Accents

The Finishing Touches…
Finally ready to glue all of my pieces down, gotta get my trusty clamps 🗜


Once the dunes and plants were glued, I mixed up some Prima mini art stones with Brushed Cordoroy paint, then sprinkled it on top of a few collage medium splotches (haven’t had much practice with these, they’re fun but a *little* goes a lonnng way!)


Had planned to just drape the chains over the back edge but then found this wheel from the Odds and Ends set to connect them ✨

Also added some last-minute Ideaology clear bubbles above the fish, because… more bubbles! 🫧 (and more texture, of course, arguably just as important)

Ta-da! How cute… So many fun things that just meld perfectly together, seriously

Thanks for looking, friends ❤️
x Erin
The Products…
Dies… Bubbling, Home for the Holidays, Funky Nature, Funky Florals 1, Under the Sea 1
Surfaces… mixed media heavystock, small thickboard tag, scalloped trim, clear acetate
Other Mediums… collage matte, clear emboss ink, opaque grit paste, clear embossing powder, Glossy Accents, translucent
Distress Paint… Speckled Egg, Ground Espresso, Rustic Wilderness, Forest Moss, Shabby Shutters, Brushed Corduroy, Vintage Photo, Scattered Straw, Rusty Hinge
Distress Crayon… Gathered Twigs
Alcohol ink… Caramel
Ideaology… hook clasps, jump rings, hardware heads, clear bubbles, Odds and Ends
Other supplies… Prima mini art stones, Big Shot, glass mat, heat gun, blending brush, mounting dots, Crop-a-dile, metal eyelets, clamps