Showing posts with label vignette tray. Show all posts

Friday, September 17, 2021

Autumn Splendor Tray

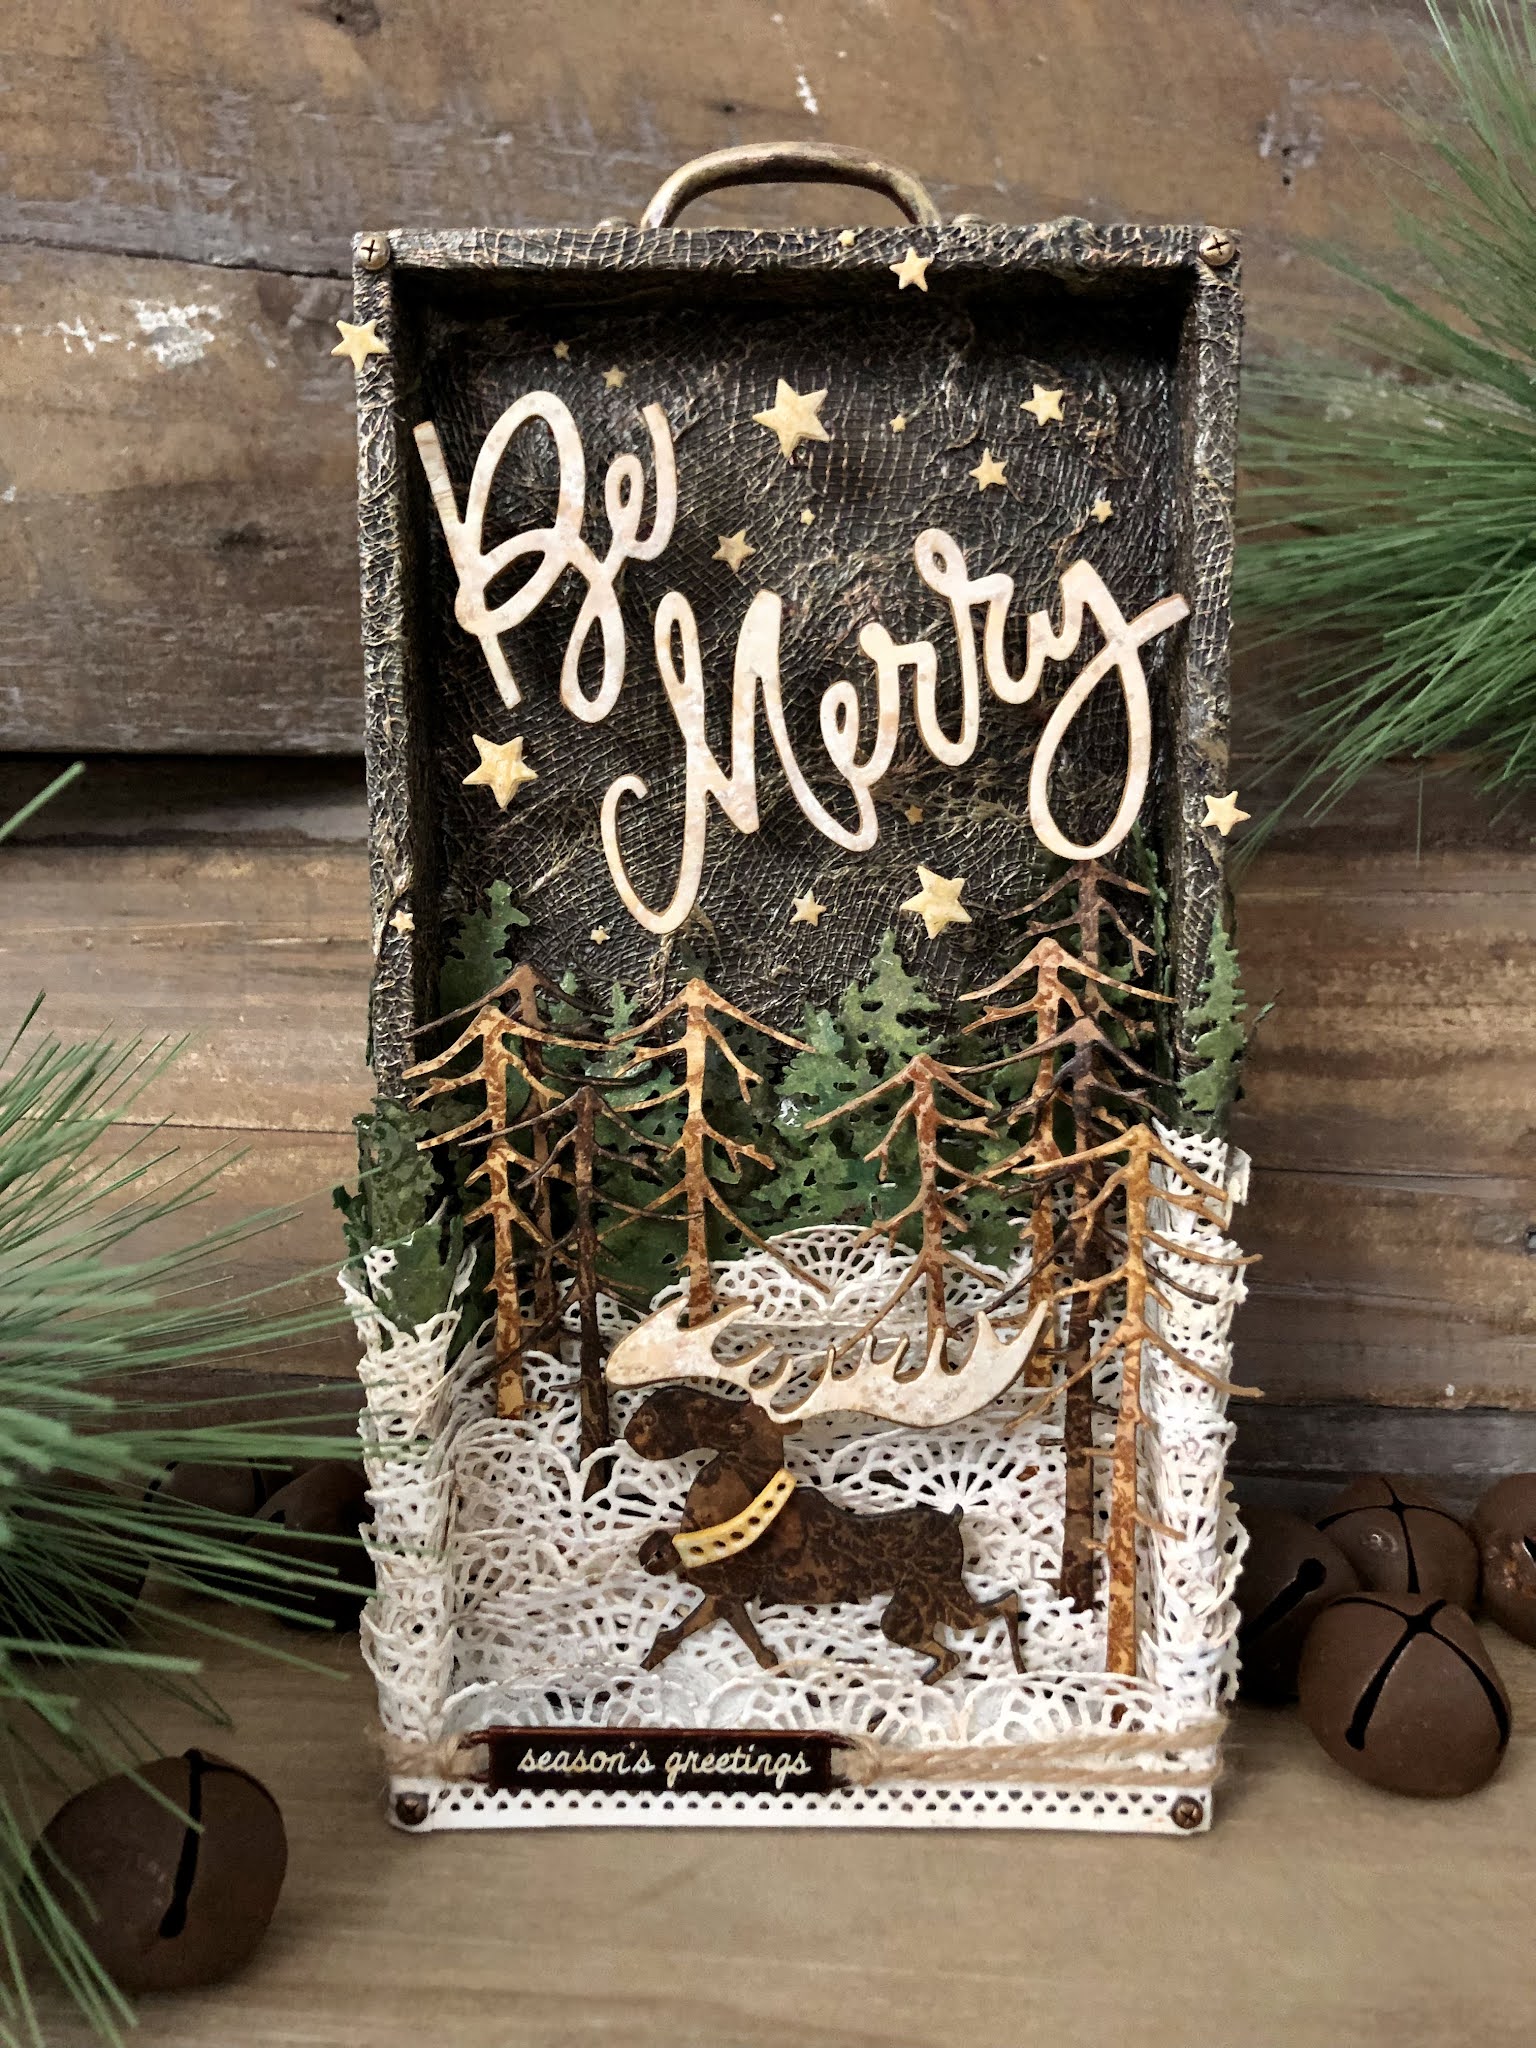
Hey there! It’s been a bit cooler here the last few weeks, so it felt fitting to create a little fall scene featuring the fabulous Tim Holtz Funky Foliage dies.


Let me go through some details about my process for this project! 🍂 🍄


The Tray…

Started off by applying texture paste through the Tim Holtz Script Layering Stencil (THS149) onto my medium vignette tray. I used a palette knife and actually ended up cutting the edges off my stencil to get in all the nooks and crannies a bit better (you do what you gotta do 🤷🏻‍♀️). After the stenciling was dry, I also added a bit of texture crackle paste here and there, then coated the whole tray with a layer of Picket Fence distress paint, followed by a Walnut Stain distress stain wash to highlight the stenciling.


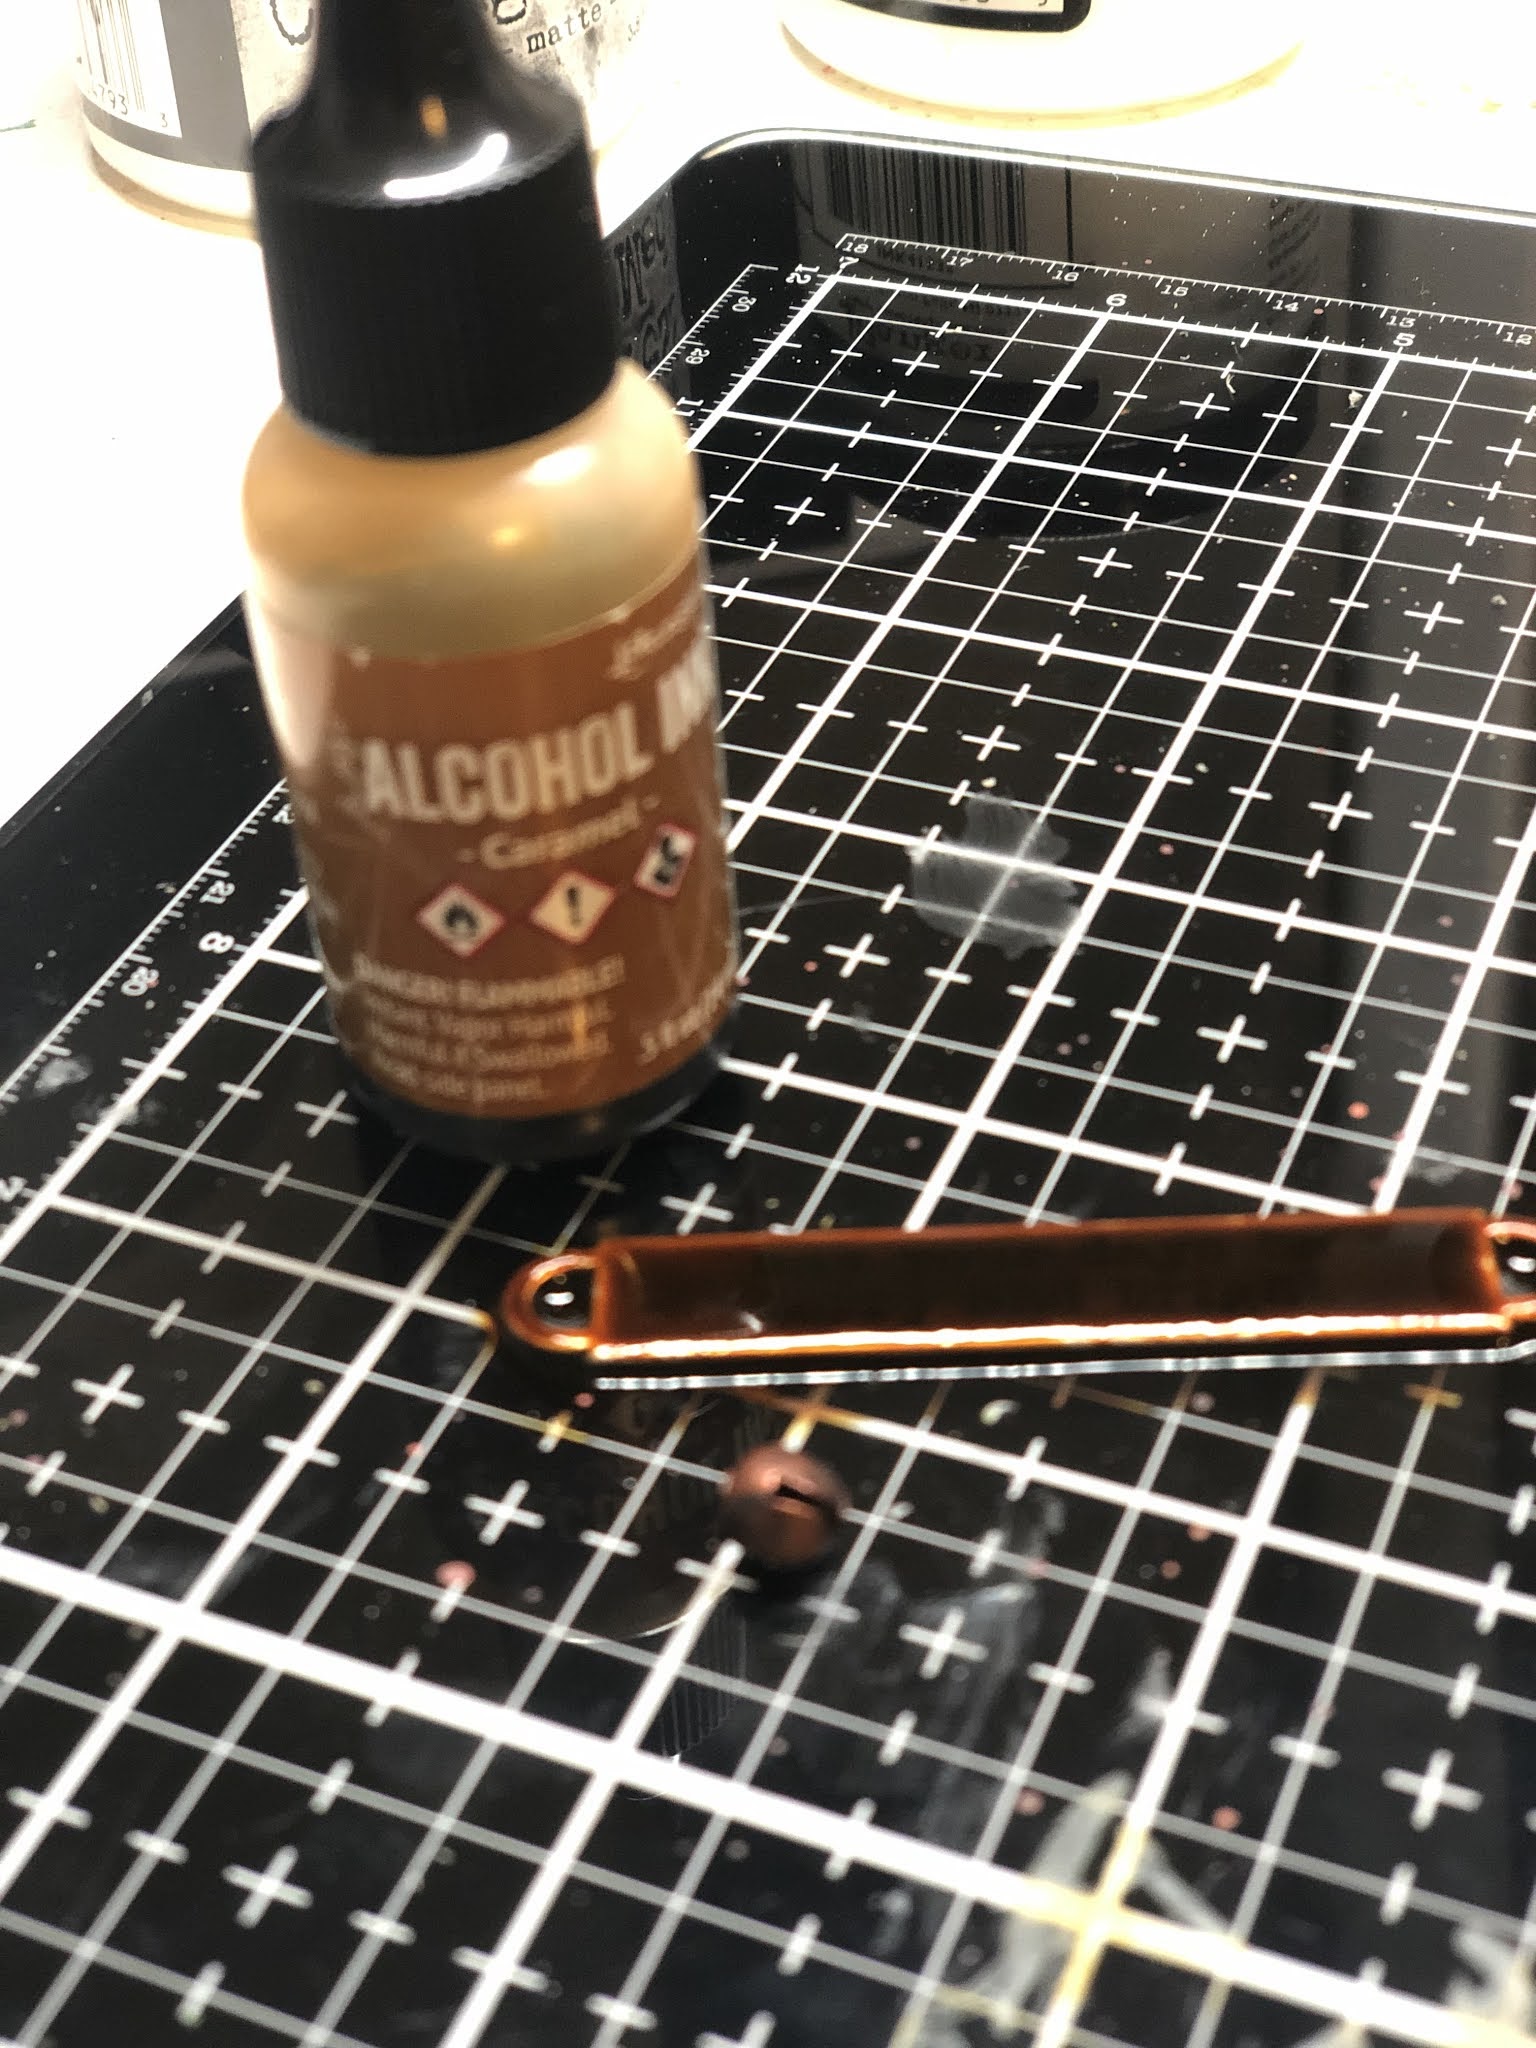
Next, I added a few bits of numbered ephemera and moss. Then used caramel to ink up a few hardware heads and a mini drawer pull before adhering to the tray corners and top edge with collage medium.


The Foliage + Fungi…

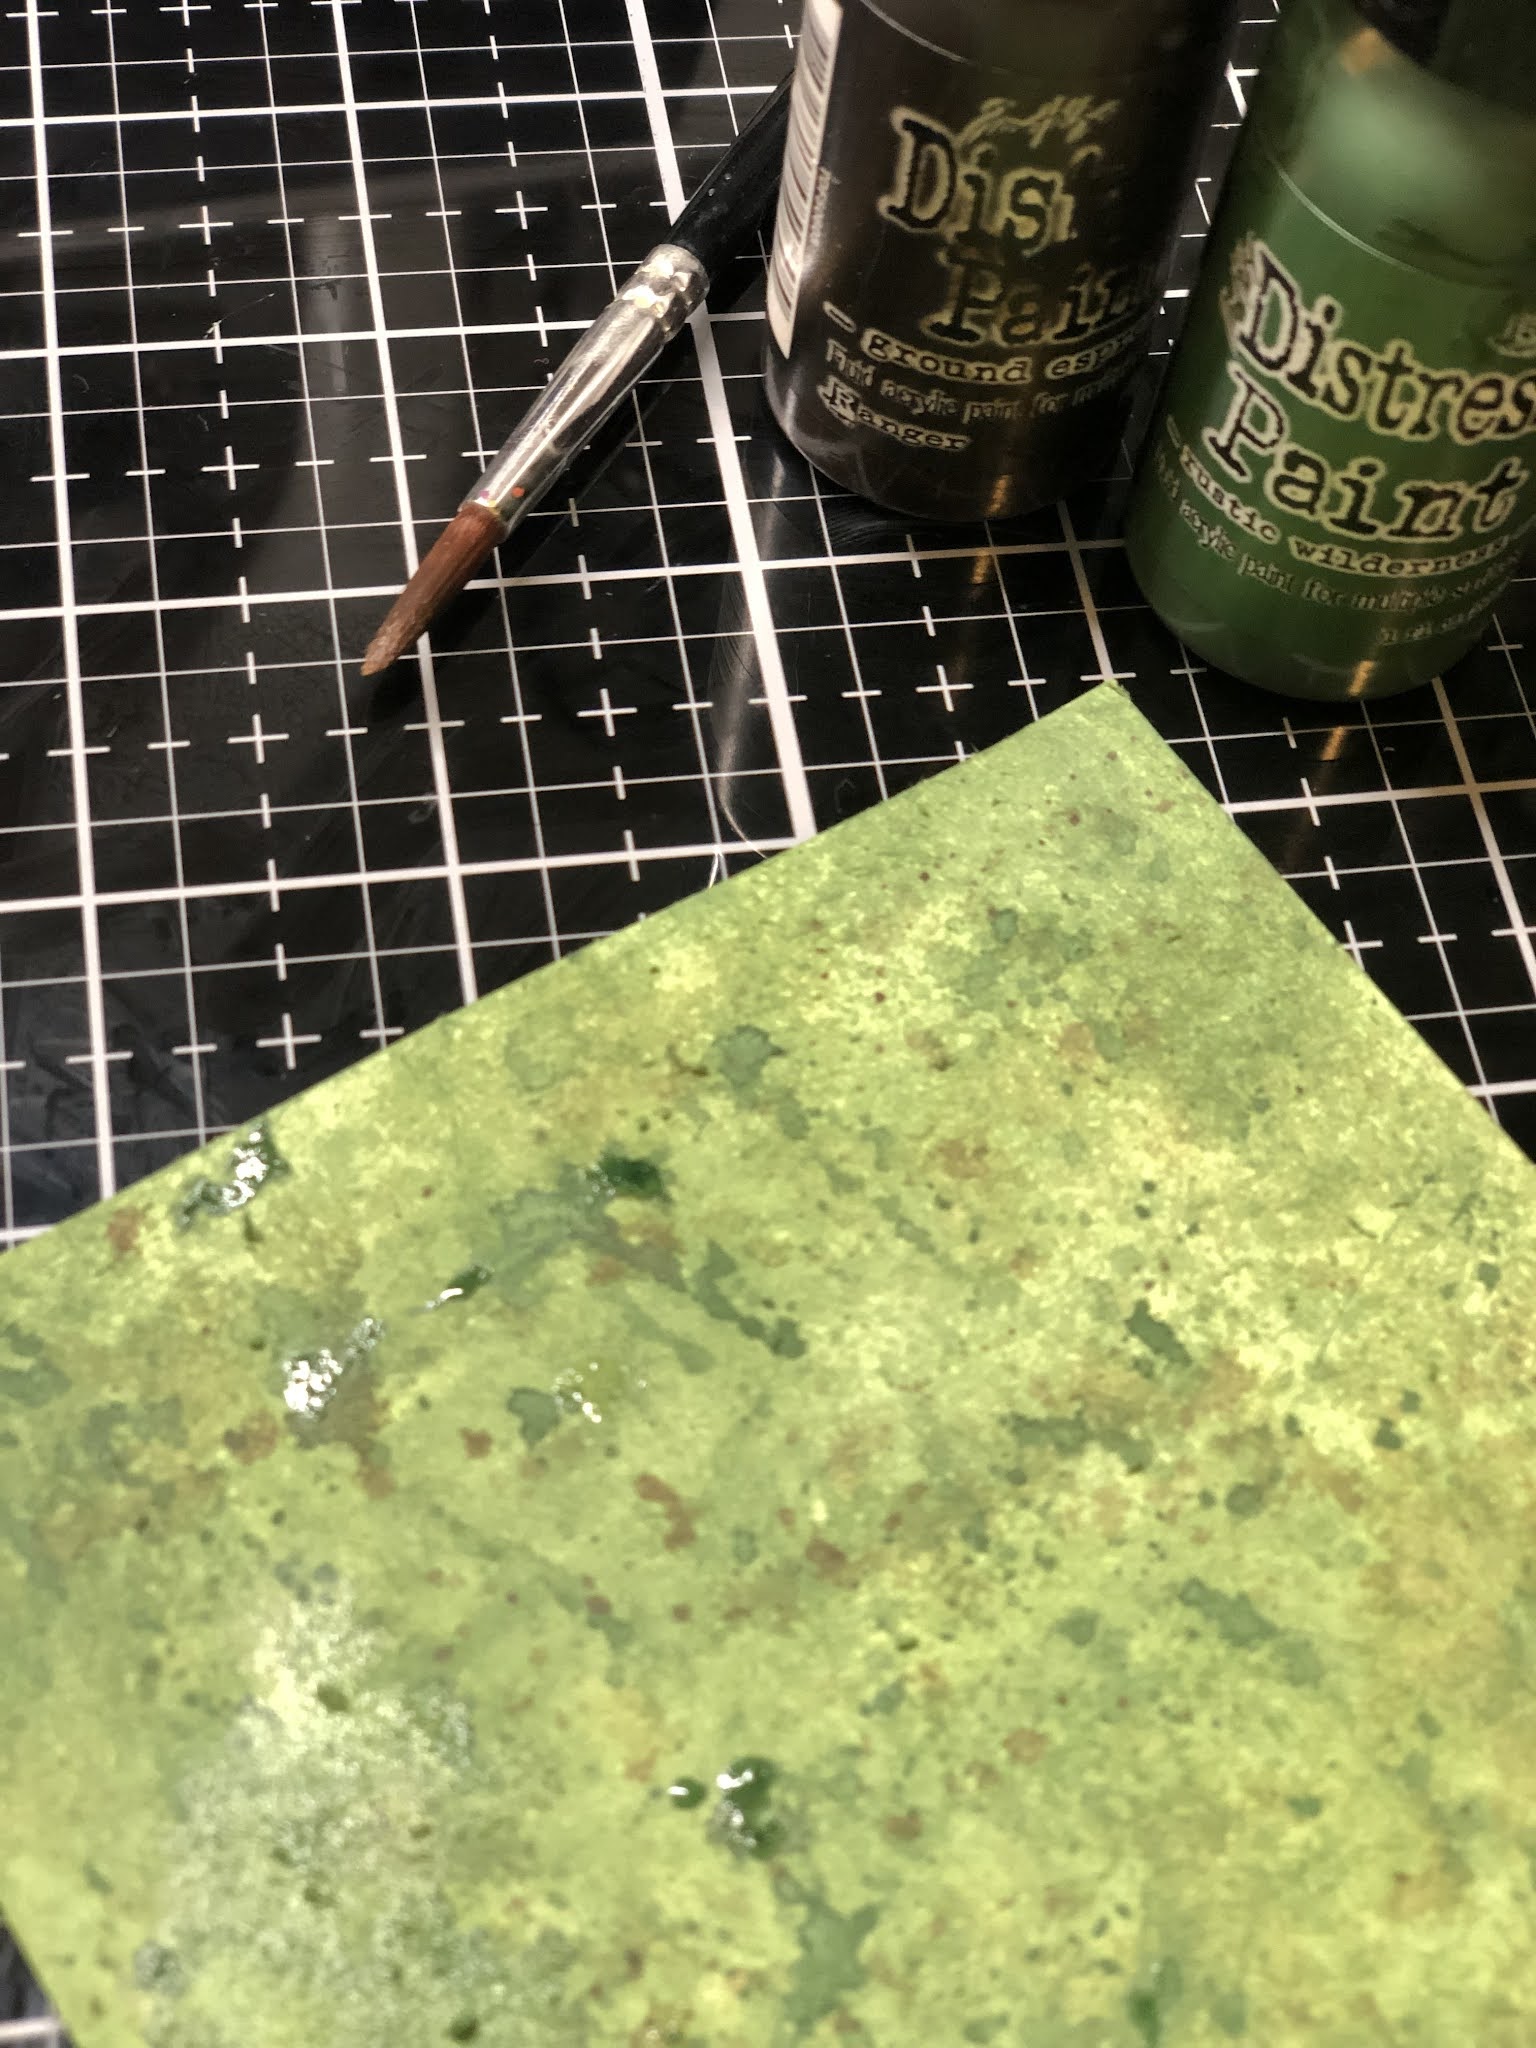
I LOVE the whole Funky line of dies but the Foliage set might just top the list! I cut several of each piece out of heavy stock paper, then glued 2 layers together for extra thickness. I painted them with a bunch of different distress paints, including the edges (this part is a bit time-consuming, but I find it so relaxing!). 

Once the paint was dry, I applied a coat of rock candy clear crackle to all my pieces, then rubbed Walnut Stain distress crayon into the cracks.


The Centerpiece + Sentiment…

For my center shape, I used the Tim Holtz Trinket Frames Bigz die, cut 3 pieces out of chip board, and glued together. I painted with seedless preserves distress paint and then added a thick layer of clear crackle over the top. (Some of it chipped off in a few spots but I actually really love that!) I rubbed walnut stain crayon into the cracks, added a couple hardware heads, and then sealed the whole piece with collage medium.

For my words, Autumn Splendor, I used the Tiny Type Upper set to cut 2 of each of my letters out of heavystock paper, then glued them together. I glued them onto my shape and sealed again with a coat of collage medium. (I didn’t paint them, I like the ‘heavystock’ color 😜 but in the final stages, I did add some caramel alcohol ink to the bottom edges for a bit of extra oomph)

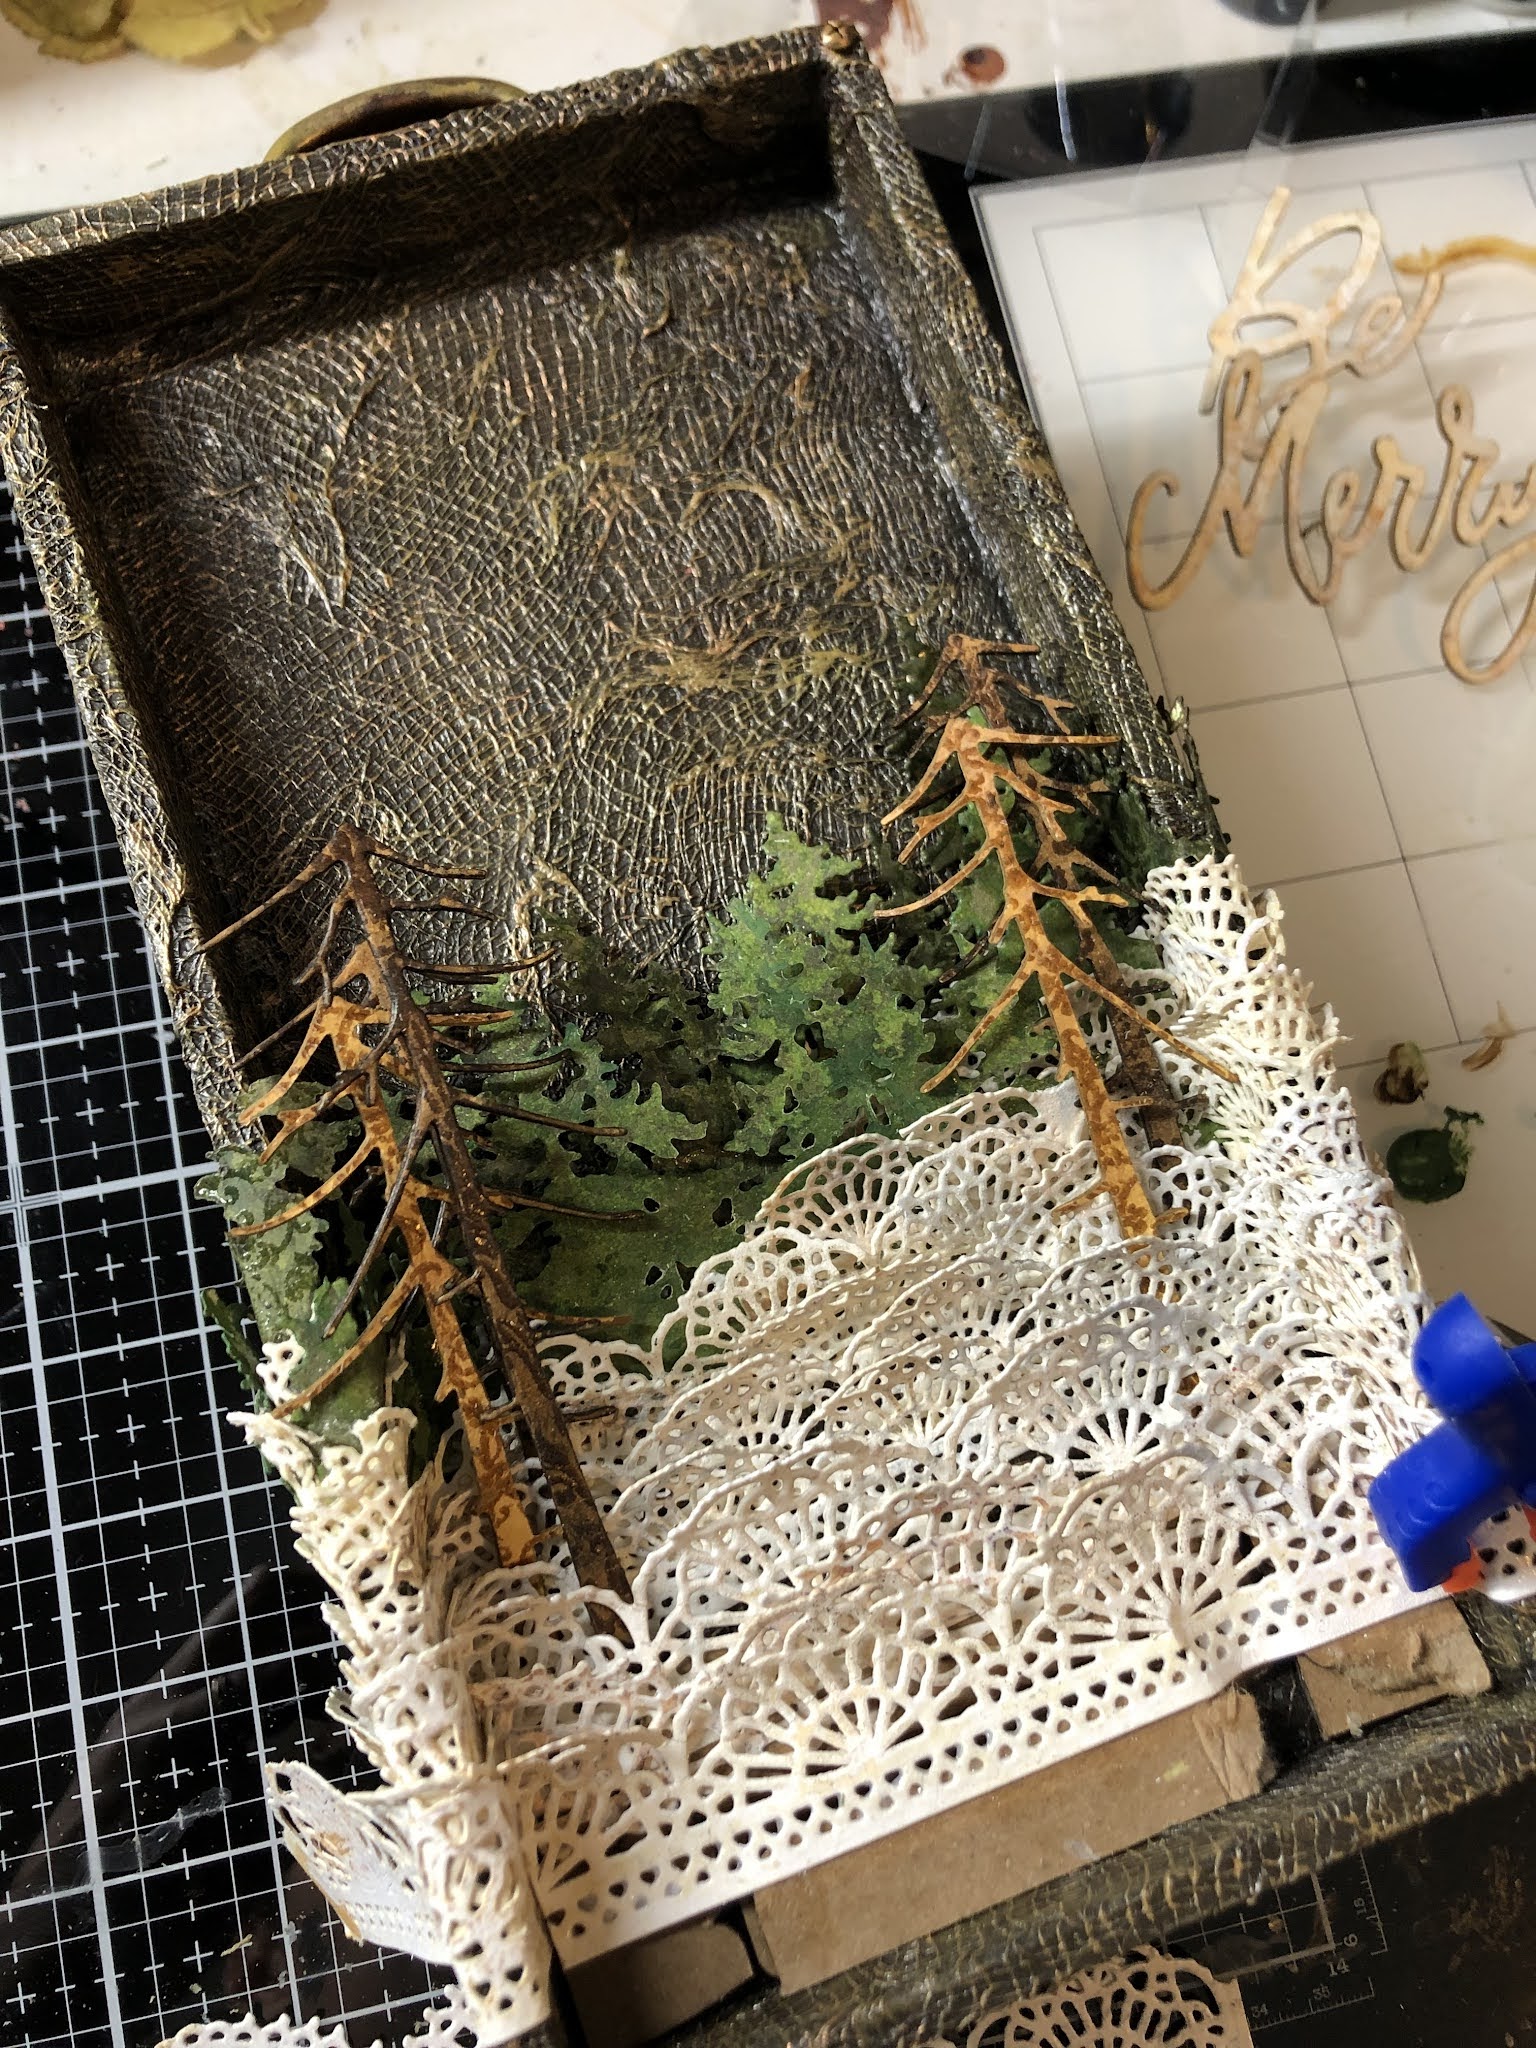
I added a few scrap pieces of pinked trim under my centerpiece to give it some extra lift so I could tuck in my moss and leaves around the edges.


The Finishing Touches…

Now I just needed to glue all of my foliage around my centerpiece! I made sure to add in plenty of moss too to help hold everything and add dimension.

Once everything was glued down, I went back through and added extra caramel ink to my hardware and letters for grunginess/rustiness and tucked in some bits of excelsior.

And that’s it, my funky little fall tray is complete! Thanks so much for looking and happy crafting!

x Erin


The Products…

Stencils… Script (THS149)

Dies… Funky Foliage, Trinket Frames, Tiny Type Upper

Surfaces… heavystock paper

Mediums… distress texture paste, texture crackle paste, collage medium, rock candy clear crackle

Distress crayon… Walnut Stain

Distress stain… Walnut stain

Alcohol ink… caramel

Distress Paint… picket fence, walnut stain, vintage photo, aged Mahogany, fired brick, rusty hinge, spiced marmalade, wild honey, fossilized amber, forest moss, peeled paint, seedless preserves

Ideaology…  vignette trayruler pieces, mini hardware handle, hardware heads

Etcetera… pinked trim

Other Supplies… numbered ephemera, moss, excelsior, Big Shot, palette knife, glass mat

Friday, July 23, 2021

Merry Moose Vignette Tray

Hello there! I was flipping through my dies recently, looking for something completely unrelated, when I spotted this cute moose fella (long owned but never opened! 🤦🏻‍♀️) and was struck with inspiration. So, Christmas in July it is!

Let me to show you how I created this festive little scene ✨

The Background… 

I grabbed a medium Ideaology vignette tray and covered it in cheesecloth, adhered with Collage Medium (such a simple and fun way to get a nice textured background). Once dry, I painted thoroughly with Ground Espresso distress paint.


Then added a layer of Sizzix Luster Wax in Rose Gold to the raised texture with my finger.


The Moose, Trees, and Stars…

I started by making some of my own papers from mixed media heavystock: two brown variations, a green, a creamy off-white and a pale yellowish piece. See the Distress Paint combos I applied to each piece below…


Once my first layers of distress paint were dry, I added a layer of Versamark with the Tapestry stamps, followed by Distress Glazes and clear embossing powder, then set with the heat tool.


Now to cut my elements! I decided I wanted my moose from the Merry Moose set a little thicker, so I cut an extra set from plain heavystock and glued behind my ‘fancy’ brown-toned papers. I used the Treeline die with my green piece, the Swirling Stars die and moose collar were cut from yellow piece, and the words + antlers from the cream-colored piece.


The Snow…

I have always had the idea in my head that the Crochet strips would be cute as snow and this was the perfect excuse to try it out. I cut (many! 😅) pieces from heavystock and applied a coat of clear embossing serum, then sprinkled white embossing powder and heat set. I wanted to grunge them up slightly so they weren’t so starkly white, so added some vintage photo oxide over the top, let dry a bit, then wiped back considerably.


The Sentiment…

I cut my sentiment from the Merry & Bright set. I wanted it thicker, so I cut two layers of plain heavystock + 1 layer from my handmade creamy paper and glued together. I wanted to customize it to say Be Merry instead so I cut the B from Bright and some extra ‘e’s from Merry and glued them together.


I added a paper ‘reinforcer’ to the back over where I glued my letters together for some extra strength and used a good amount of Collage medium in the front to help camouflage the seam 👌🏻


I decided I wanted to give my sentiment some extra elevation and had the idea to mount it on some sewing pins. First I colored them with Caramel alcohol ink, then stuck them in various places into my heavystock, securing with Collage Medium.


The Gluing Process…

Thought I’d share some snaps during my gluing phase!


The Word Band…

I love these word bands but I’ve never had great luck getting the recessed phrase to contrast nicely for crisp readability. SO, my work-around is to use a remnant rub over the top instead. Love the final look!


I first add collage medium to the band, getting in the grooves of the phrase to help hide it. 


Then added caramel alcohol ink over the whole piece and let dry completely. 


I cut the white remnant rub phrase of choice, peeled the back off and rubbed thoroughly on the metal band. Then peeled the front clear layer off very carefully. To finish it off, I added a coat of vintage collage medium over the top to seal it in place and create more of a grungy look. 


I Attached some jute cord to each side and secured in place just above the bottom edge.


The Finishing Touches…

To finish it off, I added caramel ink to four mini hardware heads and placed in each of the corners and inked a handle from the Mini Hardware Pulls set and two larger hardware heads before adhering on the top of my tray. As an afterthought, once they were dry, I rubbed on a bit more of the Rose Gold wax with my finger to help tie them to the tray a bit better.


And that’s my take on this cute Merry Moose, I hope you like it. Thanks for stopping by to check out my walk through!

Sending you happy crafty vibes 

x Erin


The Products…

Surfaces… vignette tray structuresmixed media heavystock paper


Dies… Merry Moose, Crochet, Treeline, Swirling Stars, Merry & Bright


Ideaology… Mini Hardware Heads, Mini Hardware PullsChristmas word band, Christmas remnant rub, mini bells


Alcohol ink… Caramel


Mediums… Distress collage medium (matte), Distress Collage Medium (vintage) , Rose Gold Luster Wax, Distress embossing dauber, Versamark


Stamps… Tapestry


Distress Paint… antique linen, vintage photo, walnut stain, ground espresso, rustic wilderness


Distress Oxide… Vintage Photo


Distress Glaze… Walnut Stain, Vintage Photo, Peeled Paint


Embossing Powder… Clear, White


Other… glass mat, big shot, heat tool, jute cord, small sewing pins, cheesecloth