Showing posts with label Alphanumeric Stretch Lower. Show all posts

Tuesday, March 12, 2024

Beautiful Blooms tag 🌼

Well hello again, fellow creatives! I’ve had these fun crackly flowers sitting around for AGES and finally decided to add them to this yummy textured tag and little frame. I’m so pleased with the combo of different surfaces/ mediums. Crackle is super hard to beat in my crafty book but that lace background… Mmm *chef’s kiss*! 😍 A few more snaps of the assembly below 👇🏻


The Background Tag…

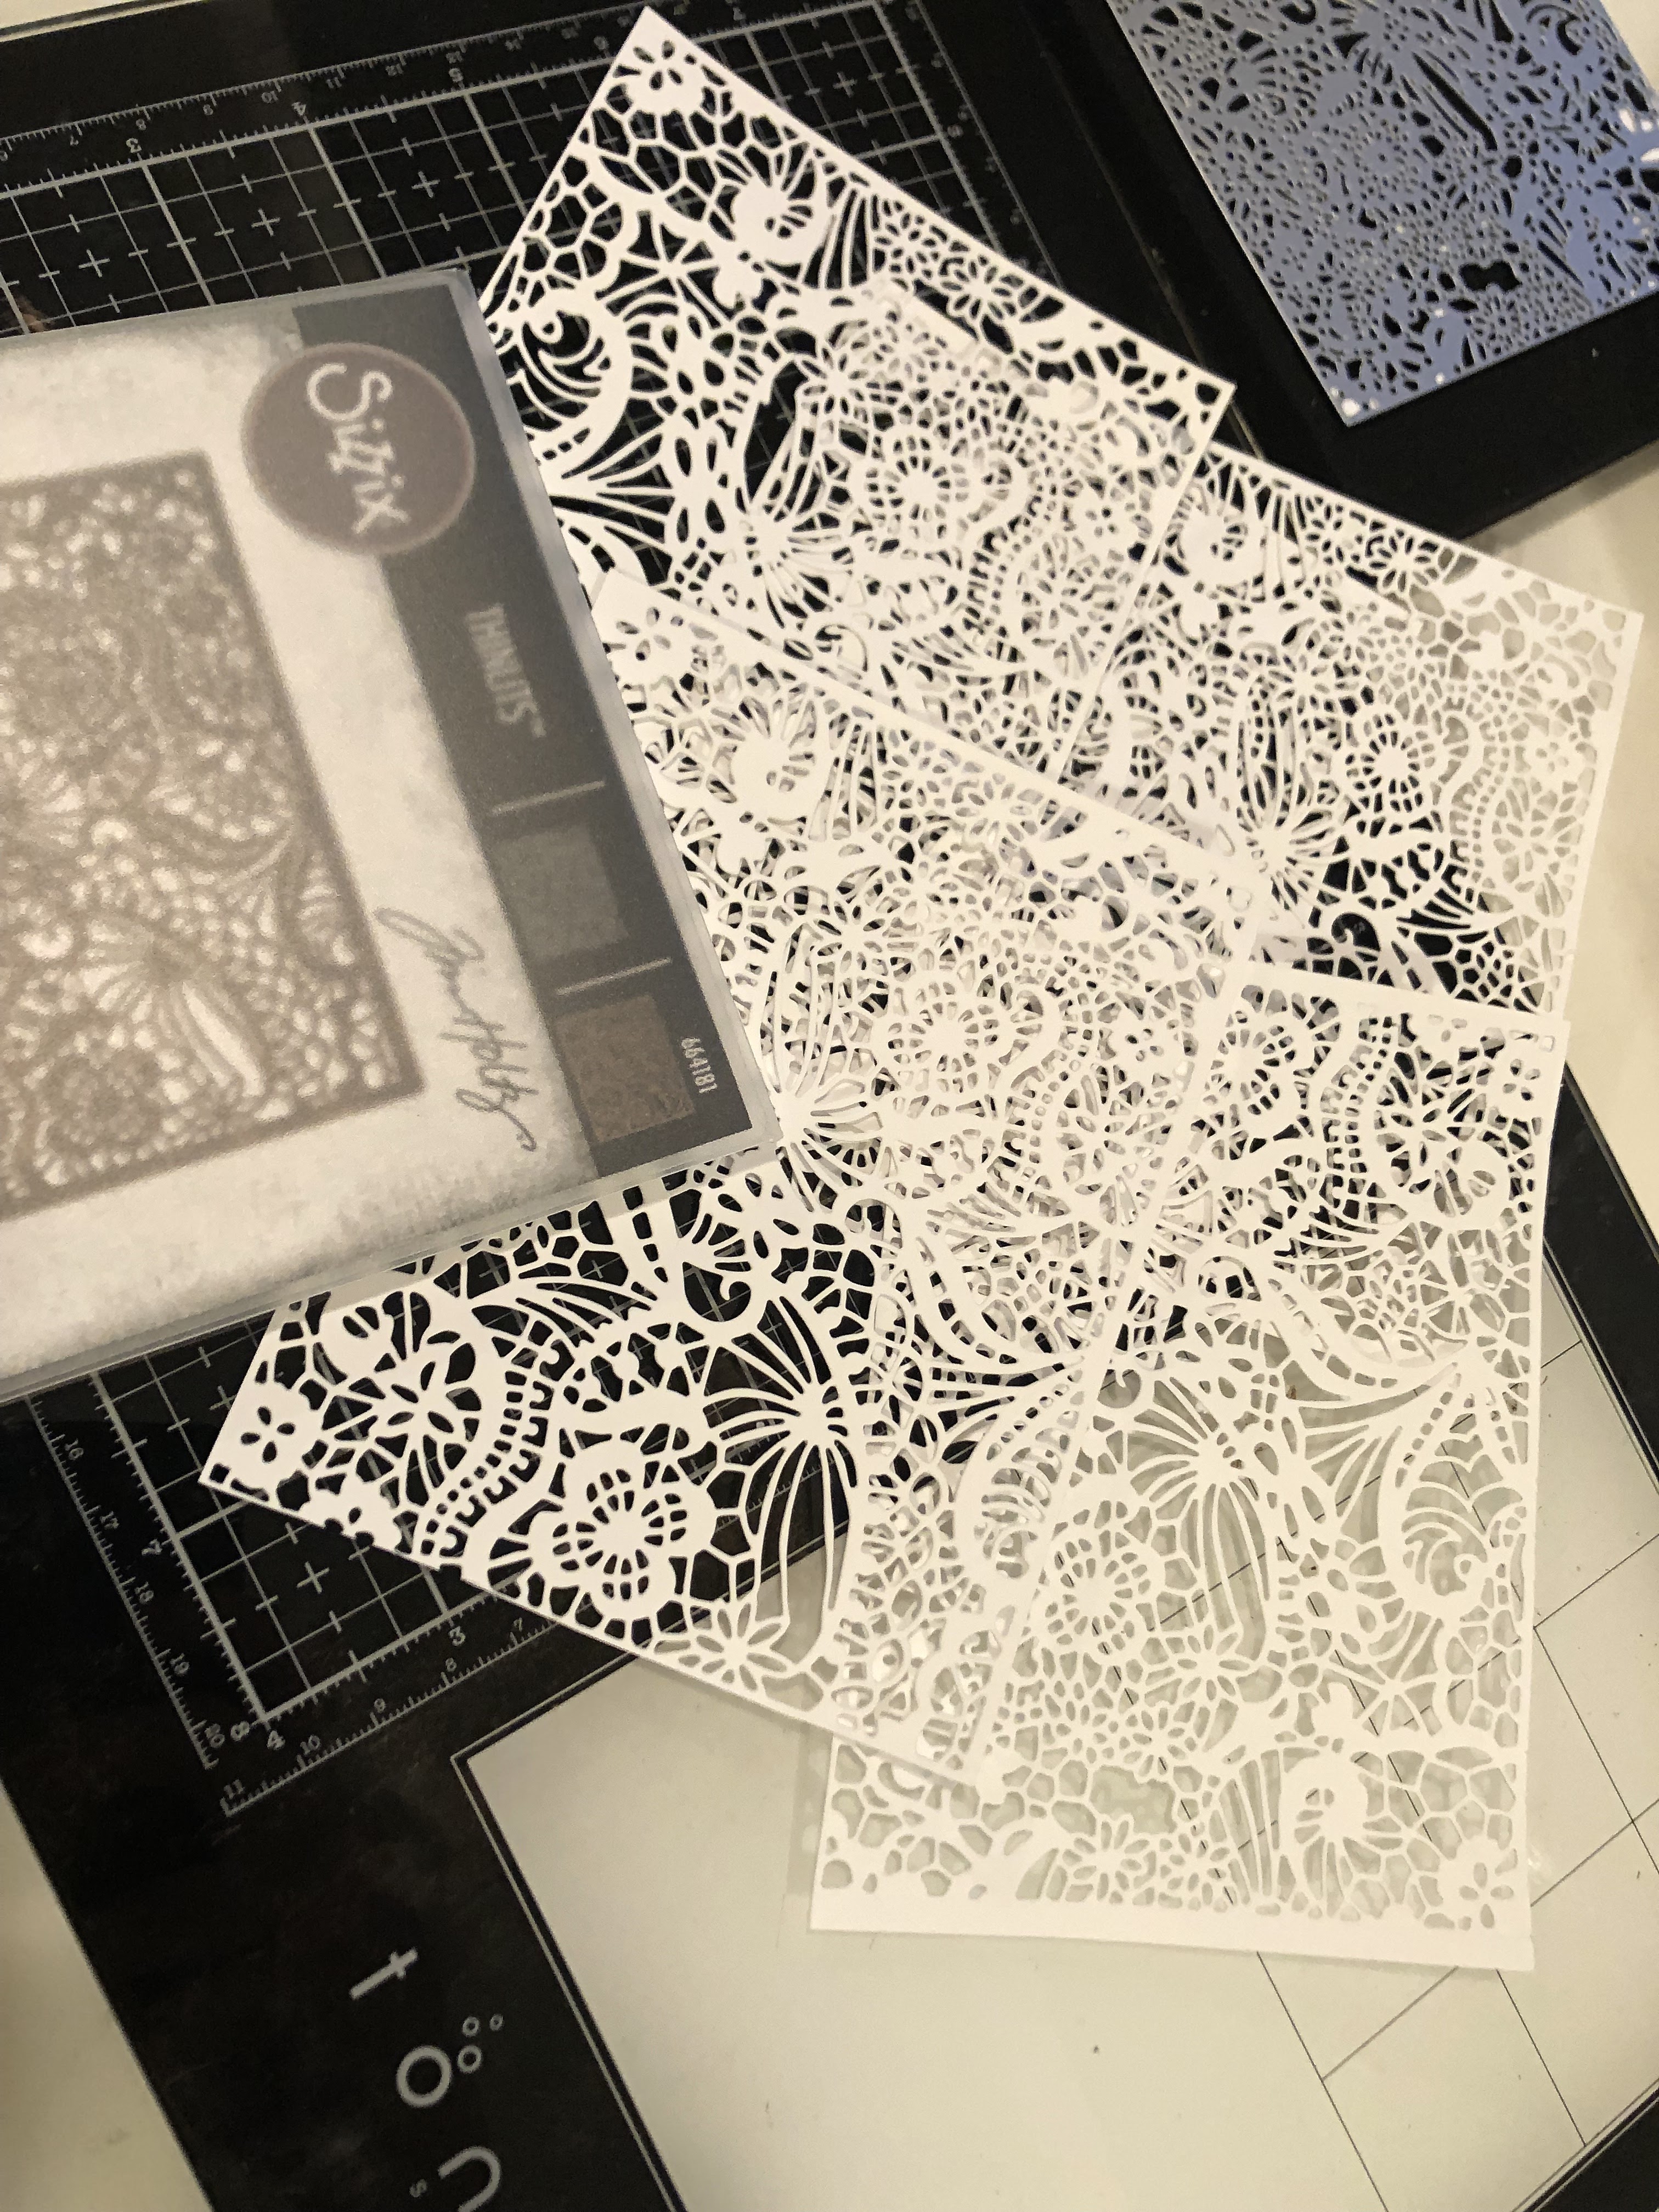
Cut Intricate Lace from mixed media heavystock paper and glued on a small thickboard tag with collage medium.


Gave it a base coat of gesso before applying more Distress.


I used a 1/2” hole punch to cover the tag hole from the under side.


Next I added some random splotches of grit paste, then painted with a couple coats of Ground Espresso before rubbing on Vintage Photo and Brushed Corduroy with my finger.


The Flowers and Leaves…

Used heavystock paper to cut Modern Floristry dies. Leaves are painted with a blend of Rustic Wilderness and Forest Moss. Flowers are Picket Fence, Scattered Straw, and Wild Honey. Generous topcoat of clear crackle.

Once the crackle was fully dry, I brushed on Walnut Stain crayon, then wiped off the excess with a paper towel.


BLOOMS Letters…

Cut three sets of BLOOMS from the Stretch Lower set using heavystock paper, glued two layers together for extra thickness and coated with clear crackle, then rubbed on Walnut Stain crayon. Painted my other set of letters with Walnut stain and glued slightly offset from the crackly letters.

The “beautiful” word is from the Tiny Text remnant rubs pack.


Finishing Touches…

Painted a large Vignette Frame with Walnut Stain, glued a piece of clear acetate to the under side, added Caramel-inked hardware heads to the corners, then randomly splotched on clear crackle paste to the edges. Also added Hitch Fasteners under each corner to elevate my frame on the tag so I could tuck in my floral bits.


Inked a drawer pull with Caramel alcohol ink + “glittering in the sun” phrase from the clippings sticker book. Also added a couple inked clips to the tag edges. 


Okay, that’s a wrap on my crackly blooms project! Nice to see it finally assembled 🤭 Also really glad spring is (almost) upon us, happy crafting! ❤️

x Erin


Tim Holtz Products…

Sizzix Dies… Modern Floristry, Alphanumeric Stretch Lower, Intricate Lace

Surfaces… Mixed Media Heavystock, small thickboard tag, clear heat-resistant acetate

Distress Mediums… Collage Matte, transparent crackle paint, grit paste, gesso

Distress Paint… Ground Espresso, Walnut Stain, Vintage Photo, Brushed Corduroy, Picket Fence, Scattered Straw, Wild Honey, Rustic Wilderness, Forest Moss

Distress Crayon… Walnut Stain

Alcohol Ink… Caramel

Ideaology… Clippings sticker book, hardware heads, hitch fasteners, hardware drawer pulls, clips, 

Tools… Blending Brush, glass mat, Sizzix Big Shot, 1/2” hole punch

Friday, May 28, 2021

Let It Bee Tag

Hello friends! Today I’m sharing a tag with some grungy bees from the Funky Insects die set, one of my faves from Tim’s latest Chapter 2 release. Let’s get into some details about how this one came together, shall we?


The Background...

I cut a bunch of the Sizzix Tim Holtz Honeycomb Framework dies (retired) from chipboard and placed them randomly on top of a large Etcetera tag, adhering them with matte collage medium. I stacked some and added a few hexagon centers back in to create different levels and depth.


Next, I used my finger to add grit paste liberally over everything. Grit paste is UP there for me on my list of must have products… it helps cover any imperfections from unaligned dies and just makes it feel a little more organic, grungy, and hive-like. Don’t forget the edges!


Once the grit paste is dry, the real fun BEEgins (jk, it’s all fun). I used a brush to coat thoroughly with mustard seed distress paint, getting in all the little nooks and crannies and edges. Let it dry. The next layer of paint was Fossilized Amber, brushing on a little less thoroughly so some of the mustard seed was still visible. Then I used my finger to add some highlights of Antiqued bronze stain. Finally, using an ink dabber, I went over just the very top-most textured areas with Walnut Stain Distress Ink. I’ll also use these same steps for the small frame, more on that ahead.


The Bees…

I cut a ton of the Funky Insects bees from Mixed Media Heavystock paper. I love how it’s designed with separate pieces, and decided to take that even further by cutting the wings off a few body pieces, and cutting the legs off a few body pieces. I glued 2 layers of heavystock together for each section for extra dimension. I cut the wings with holes from heat-resistant clear acetate. I also cut my own little stingers 


Once I had all of my sections cut and ready to color, enough for 5 bees, I added grit paste to the body+wing pieces and the striped body pieces. When the grit paste was dry, I painted the striped body pieces with Fossilized Amber then added Antiqued Bronze stain to the raised texture with my finger. All of the other pieces, except the wings with holes, I painted with Ground Espresso then used my finger to lightly add Antiqued Bronze stain to the top-most texture.


For the clear acetate wings, I covered with clear rock candy crackle paint and then added some Caramel alcohol ink to the edges to help bring out some of the cracks. I had to do a bit of trial and error here as the crackle kept wanting to chip off the acetate very easily (a little chipping is ok by me, but this was completely falling off), so I added Glossy accents over the top before the crackle was fully dry. Love this result! 😍


Finally, I shaped and contoured all of the individual pieces first before assembling and securing together with matte collage medium. Just. Obsessed.


The Small Frame + Phrase…

I used the largest frame from the Vignette Frames pack and flipped it over to work with the back/flat side this time. Then repeated all the same steps used to create my background tag.


Once my colors were dry, I added Caramel ink to four of the smaller machinery heads and added them to each corner of the frame with collage medium. Then added some grit paste around them, letting it dry fully before using my finger to apply Antiqued Bronze stain to the raised texture.


Then I cut a clear piece of acetate to fit the frame window and glued it underneath.


For the phrase, I cut 3 of each of my letters from the Alphanumeric Stretch font set on heavystock, and glued them together for extra thickness. These letters are pretty large and were exactly what I needed to balance out the bees.


I added grit paste, painted with fossilized Amber then highlighted the grit textured with Antiqued Bronze stain. I cut another set of the letters to use as shadows, painting with Ground Espresso, and gluing them slightly offset behind the thicker letters. Then I glued my finished letters to the clear acetate piece (decided to stagger the bottom edges slightly instead of making them perfectly straight).


The Finishing Touches...

Before gluing on the completed frame or bees, I colored some pieces of cheese cloth with Walnut Stain and placed randomly under where my frame would be and looped through the top tag hole. Then I glued the small frame and bees in place over the cheese cloth and… voila! Grungy bees buzzing around their hive 🐝


Thanks for looking and happy crafting!

x Erin


The Products…

Sizzix/Tim Holtz Dies: Honeycomb Framework (659430) (discontinued), Funky Insects (665364), Alphanumeric Stretch Lower (665207)


Ranger/Tim Holtz Distress Paint: Mustard Seed, Fossilized Amber, Ground Espresso, Clear Rock Candy Crackle


Ranger/Tim Holtz Distress Stain: Antiqued Bronze, Walnut Stain


Ranger/Tim Holtz Distress Ink: Walnut Stain


Ranger Alcohol ink: Caramel


Stampers Anonymous/Tim Holtz: Large Etcetera tag


Ideaology: machinery heads


Surfaces: chipboard, mixed media heavystock paper, heat-resistant clear acetate


Other mediums: Distress Collage Medium matte, Translucent Grit Paste, Glossy Accents


Other supplies: Big Shot, glass mat, cheese cloth