Hi there! Sharing a quirky little rooftop scene with lots of swirly goodness ✨
These mischievous cats are my fave new-to-me dies and I felt inspired to repurpose their cute curly tails for a few other elements and, as always, texture galore! 🤭


The Background…
For the background, I glued a piece of netting on a wooden vignette panel and painted with Uncharted Mariner. I lightly splattered on some Statue Wax for stars and heat set. I also applied a thick coat of Collage Medium to my panel edges, let it dry and then covered with Black Soot paint + more Statue wax along the top edge. Eventually, I went back and added some watery Black Soot paint to the top third-ish of my sky, just to give it a little more depth.


The Cats…
For my three Mischievous Cats, I cut the bodies from Tim’s heavystock paper (3 of each kitty). Cut the body off one cut to just use the head, then covered the head and another body cut with grit paste, followed by Black Soot paint. For the third piece, I covered with Statue wax and glued slightly offset of my black pieces as a highlight layer. Once they were all glued in place, I rubbed a bit more Statue wax of the gritty texture and heat set.


The Rooftop…
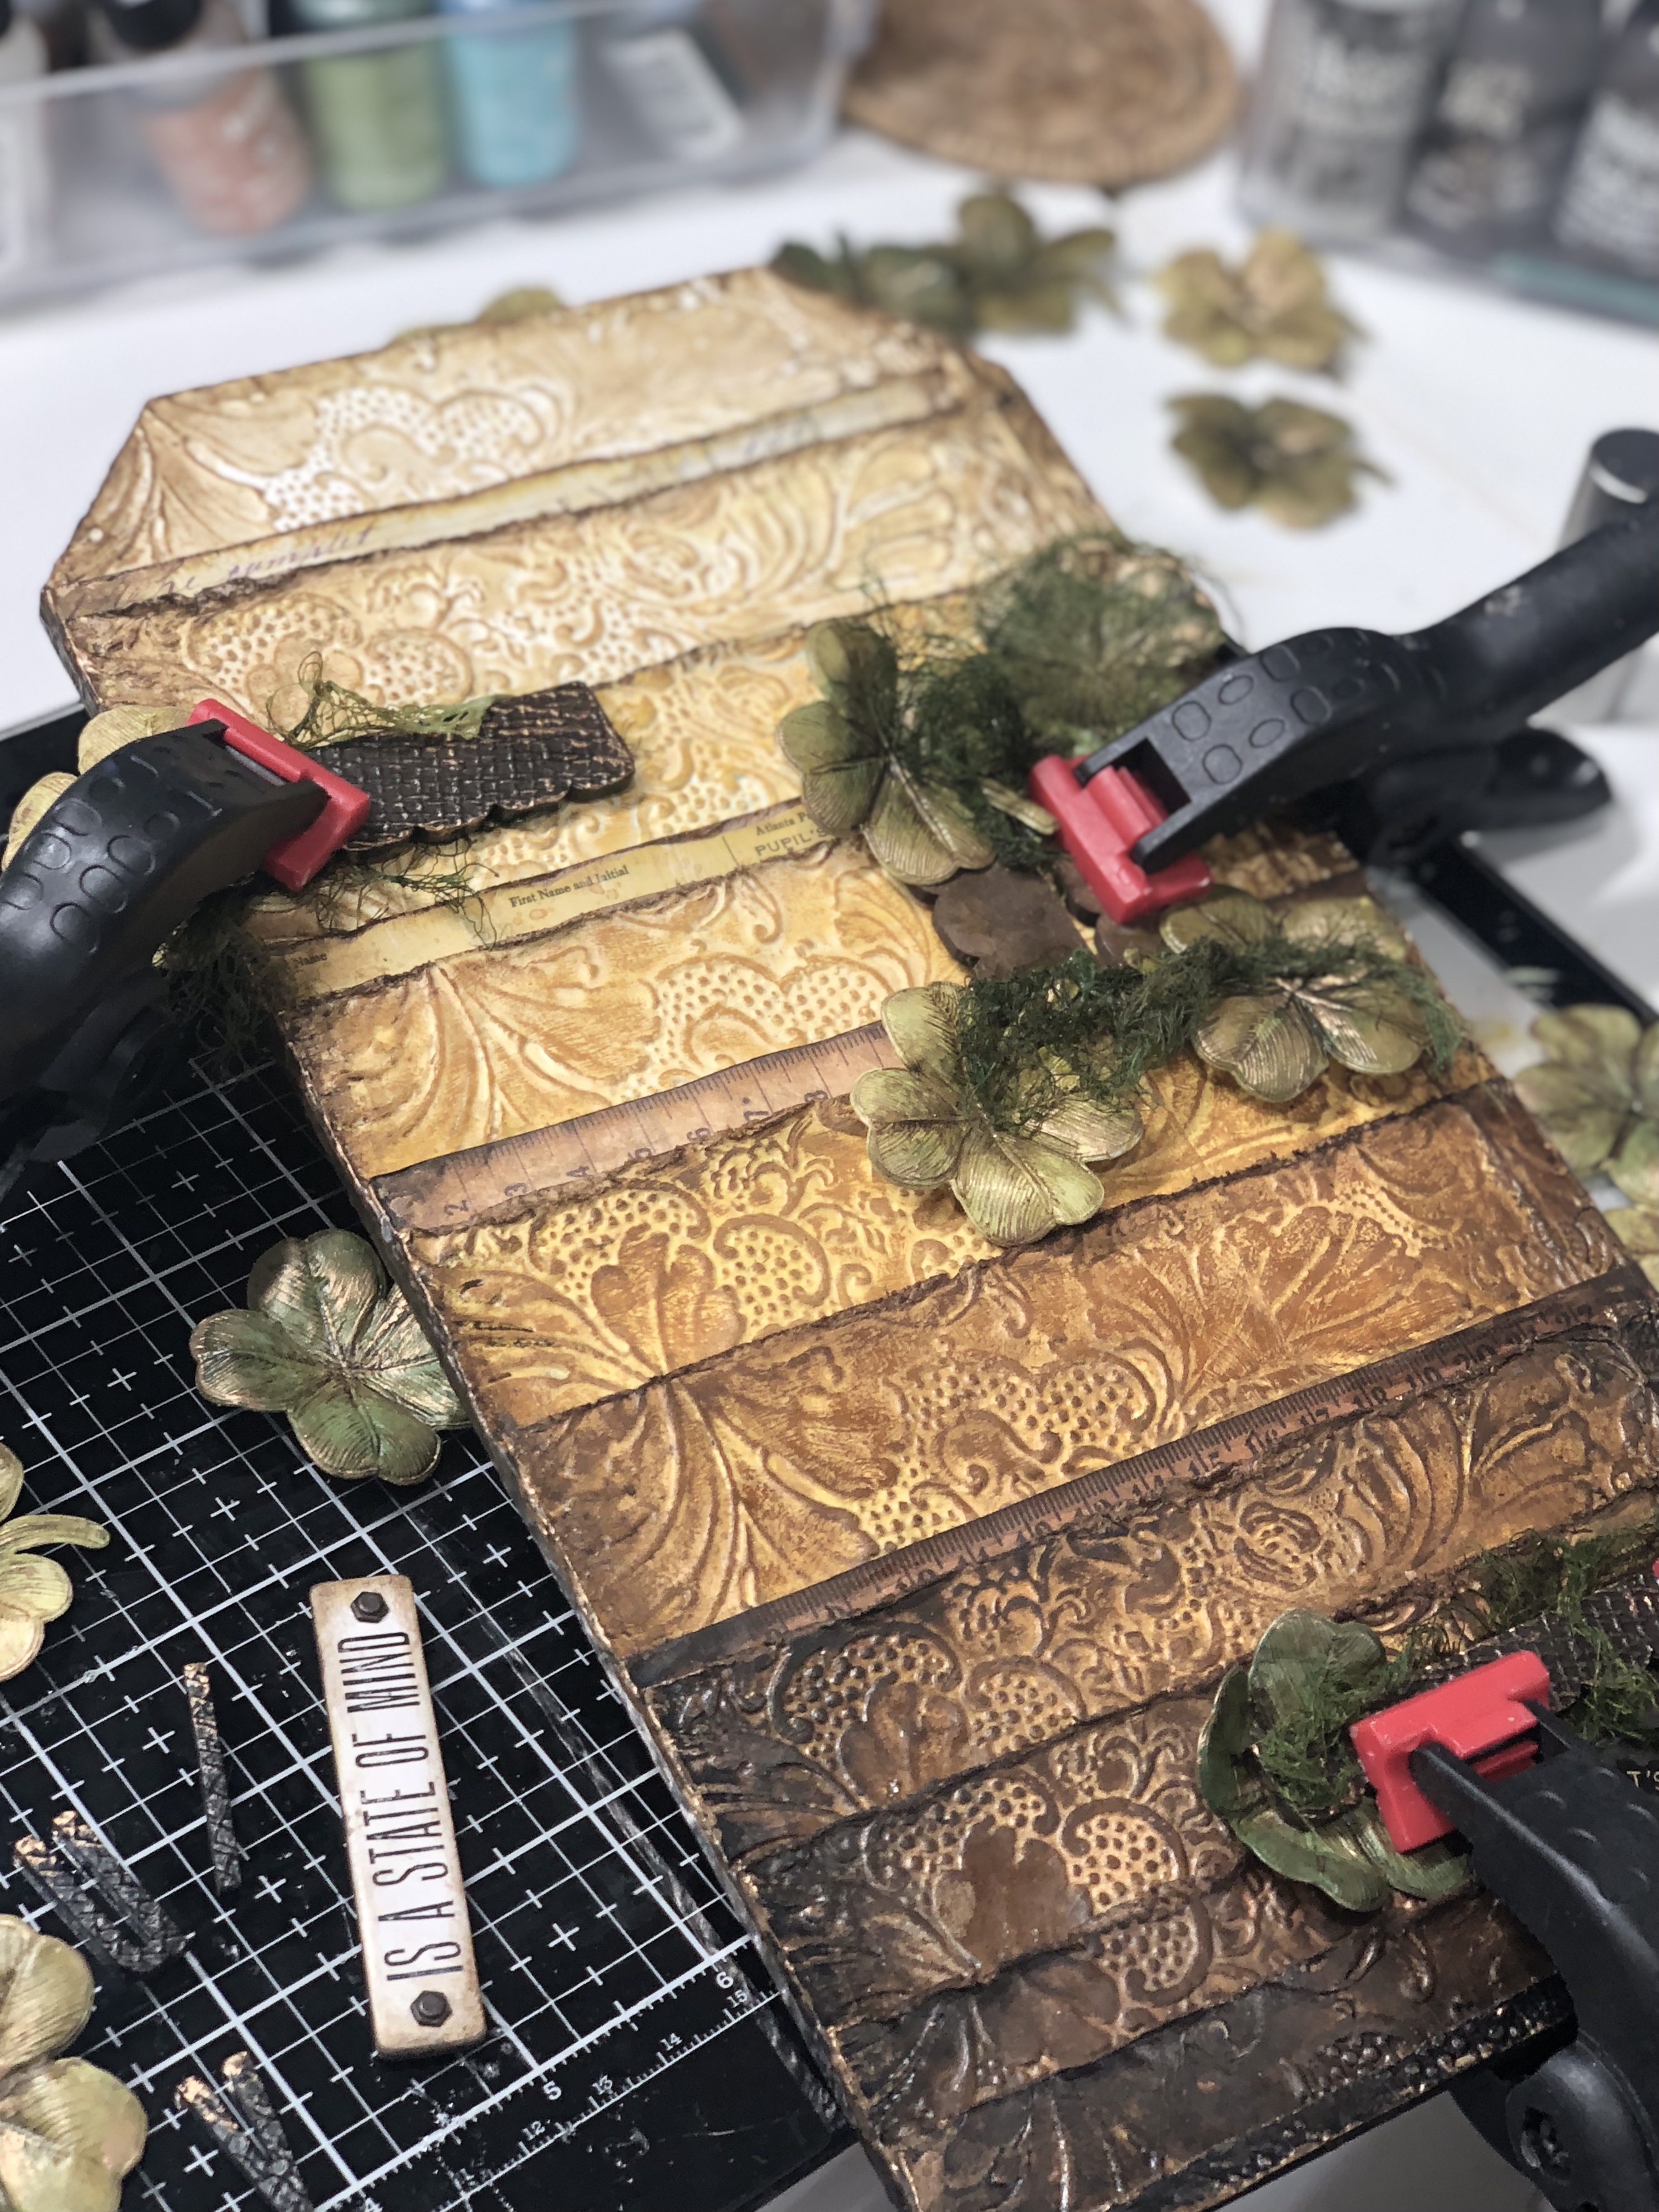
To make the rooftop, I cut lots of scalloped trim pieces from mixed media heavystock paper using the Decorative Trims die set and covered them with Opaque grit paste. Once the paste was dry, I cut them up and painted with Black Soot. After they were all glued down on my panel, I smudged on Statue foundry wax with my finger and hardened it with my heat tool.


The Chimney/smoke…
The chimney rectangle shapes were cut from the Specimen and Postale sets using heavystock, then dry embossed with the Brick folder. I painted with Black Soot and rubbed on Statue Wax with my finger before heat setting.
For the chimney smoke, I cut some extra cat tails and twinkles from the Retro Repeat die set out of clear acetate.

The Hocus Pocus letters…
For the Hocus Pocus letters, I used the Bold Text Halloween Thinlits set, cutting three of each letter from heavystock. Once they were glued and dry, I covered with two coats of statue wax and heat set (love how SMOOTH the wax gets!). Glued them on to a scalloped trim piece I cut from clear acetate to match the roofline.
My other letters are cut from the Tiny Type lower Thinlits set and painted with Antique Linen followed by a few light smudges of Statue wax accents.


The Moon…
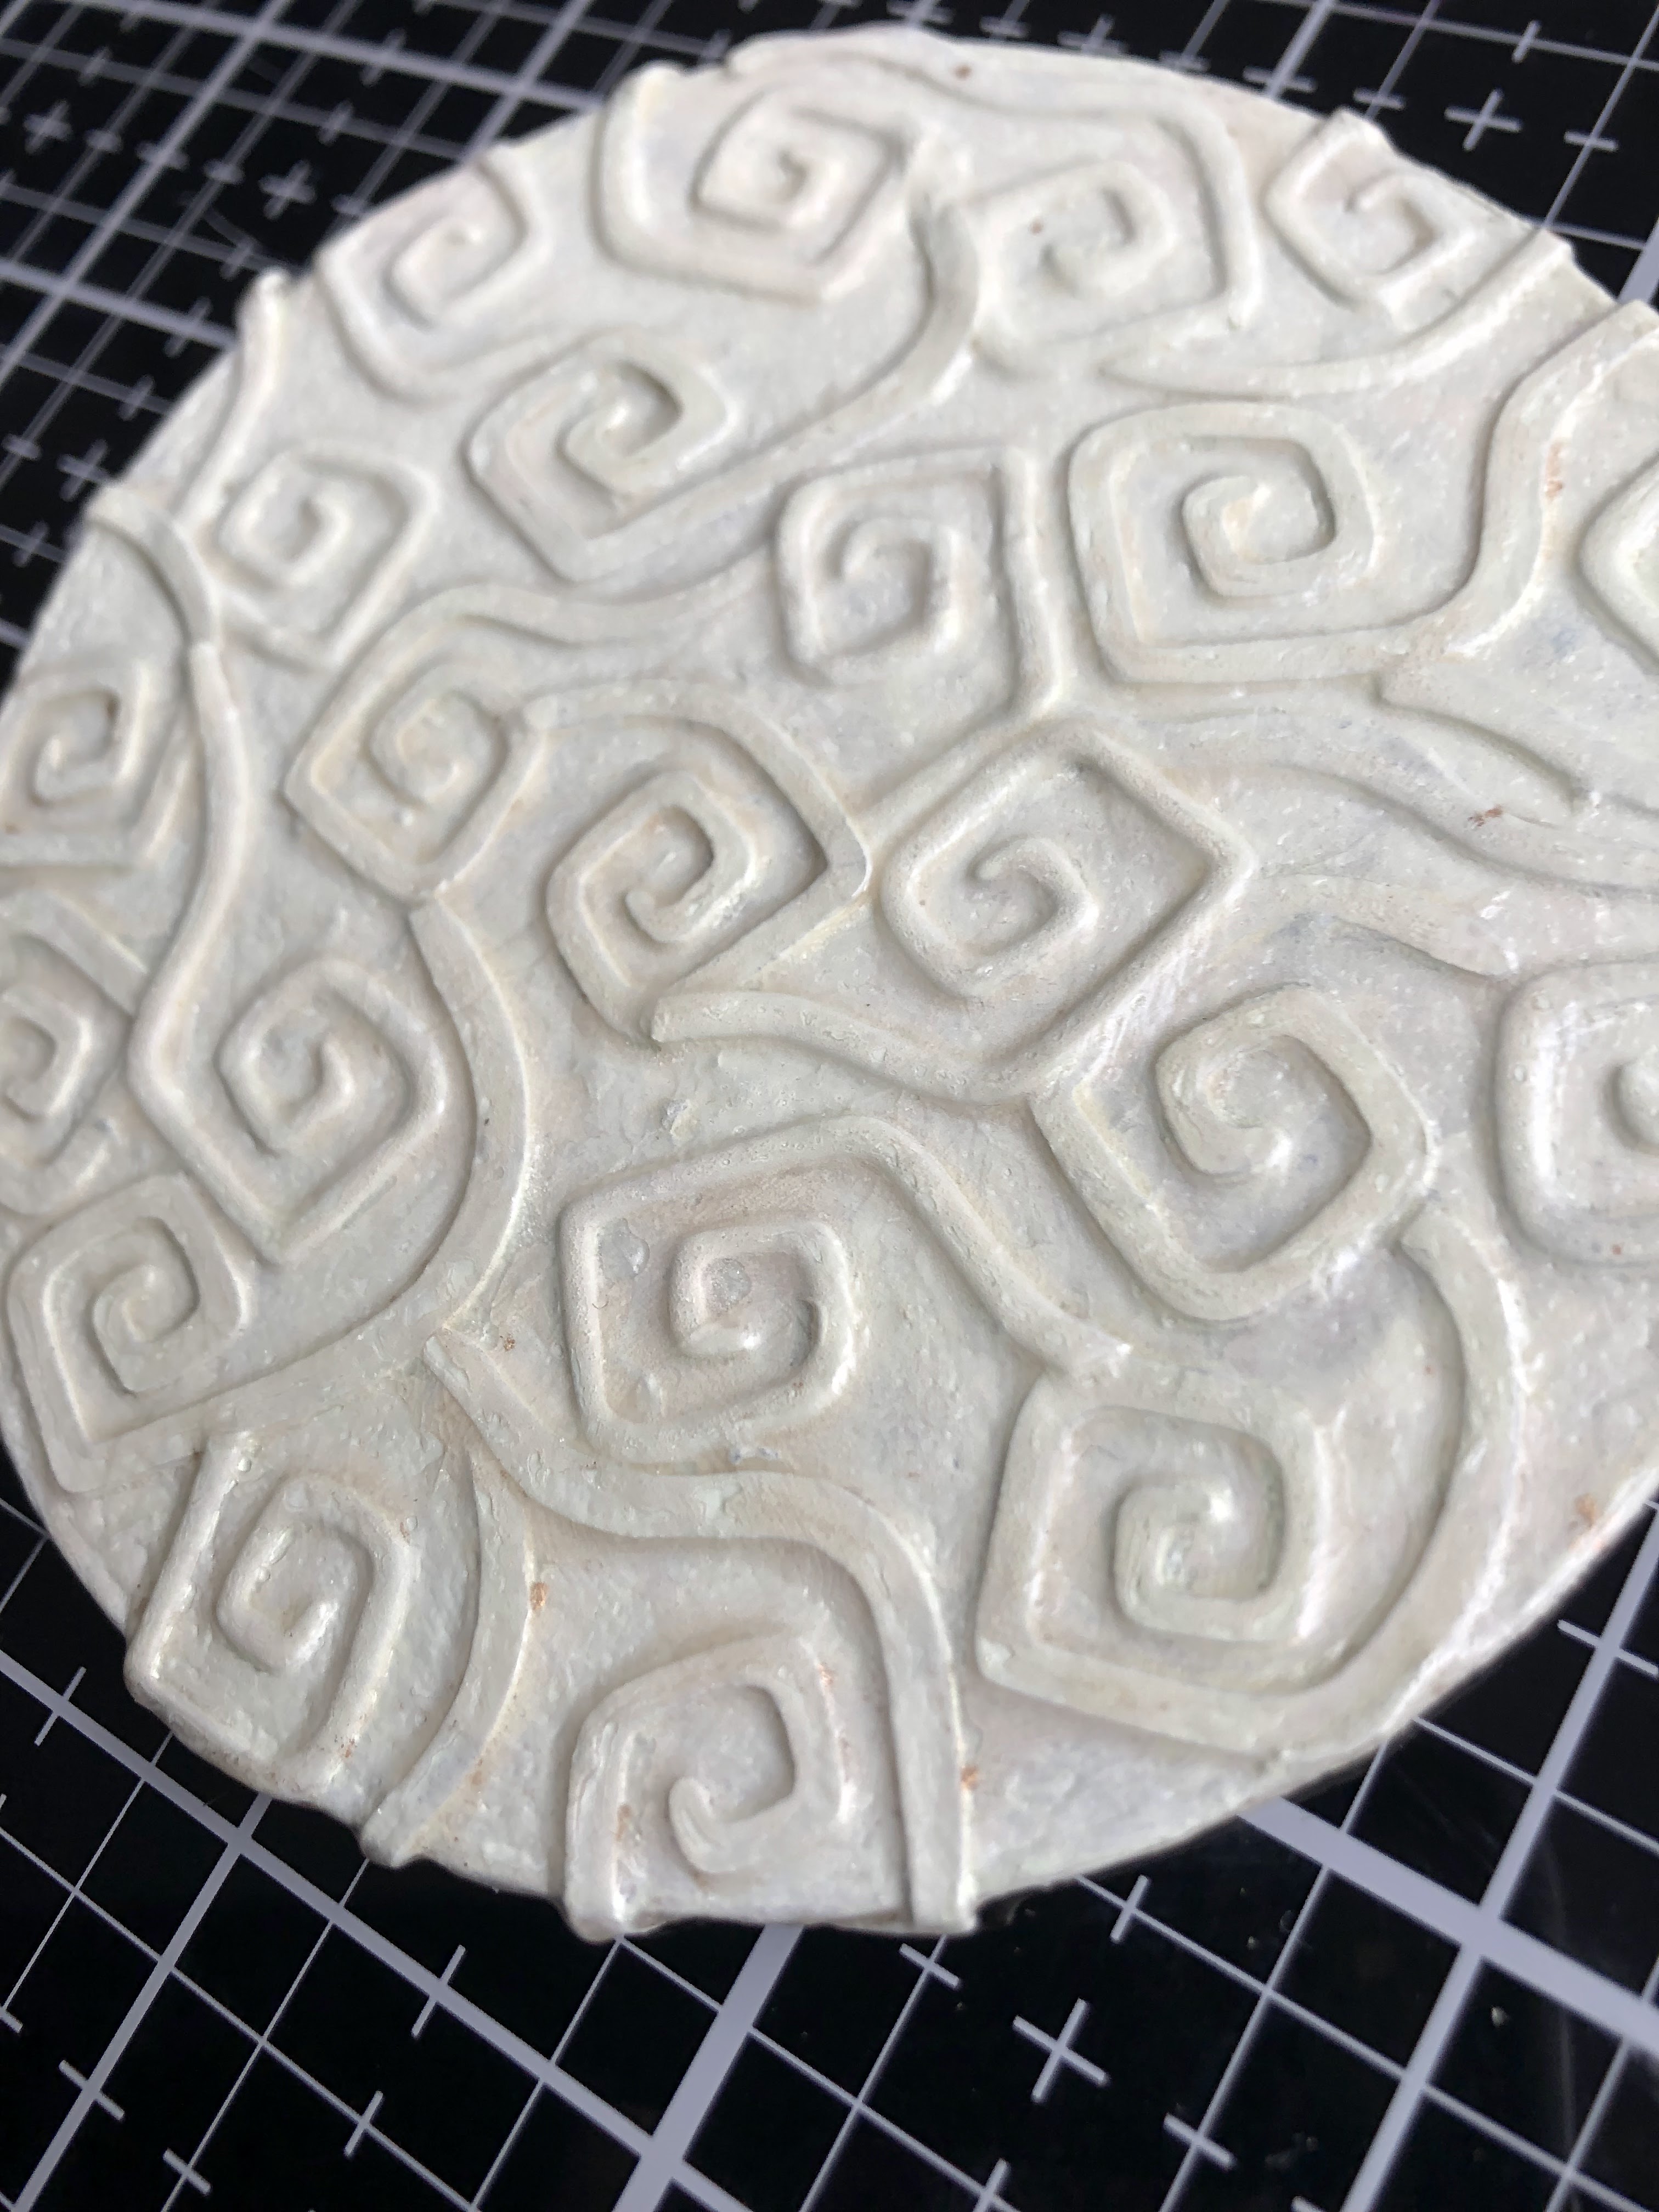
For the moon, I cut three large Stitched Circles and glued together. Cut some extra tails from the mischevious Cats die set and glued down on the circle. Painted with Antique Linen, then added emboss ink + clear embossing powder and heat set. Used my finger to rub on Statue Foundry wax to the raised texture, then heat set


Finishing Touches…
Here’s a glimpse of where my project was once all my main elements were complete, but before a lot of extra little details were added… I think it’s cool to see how much those extras really make it POP in the end 💥🤭
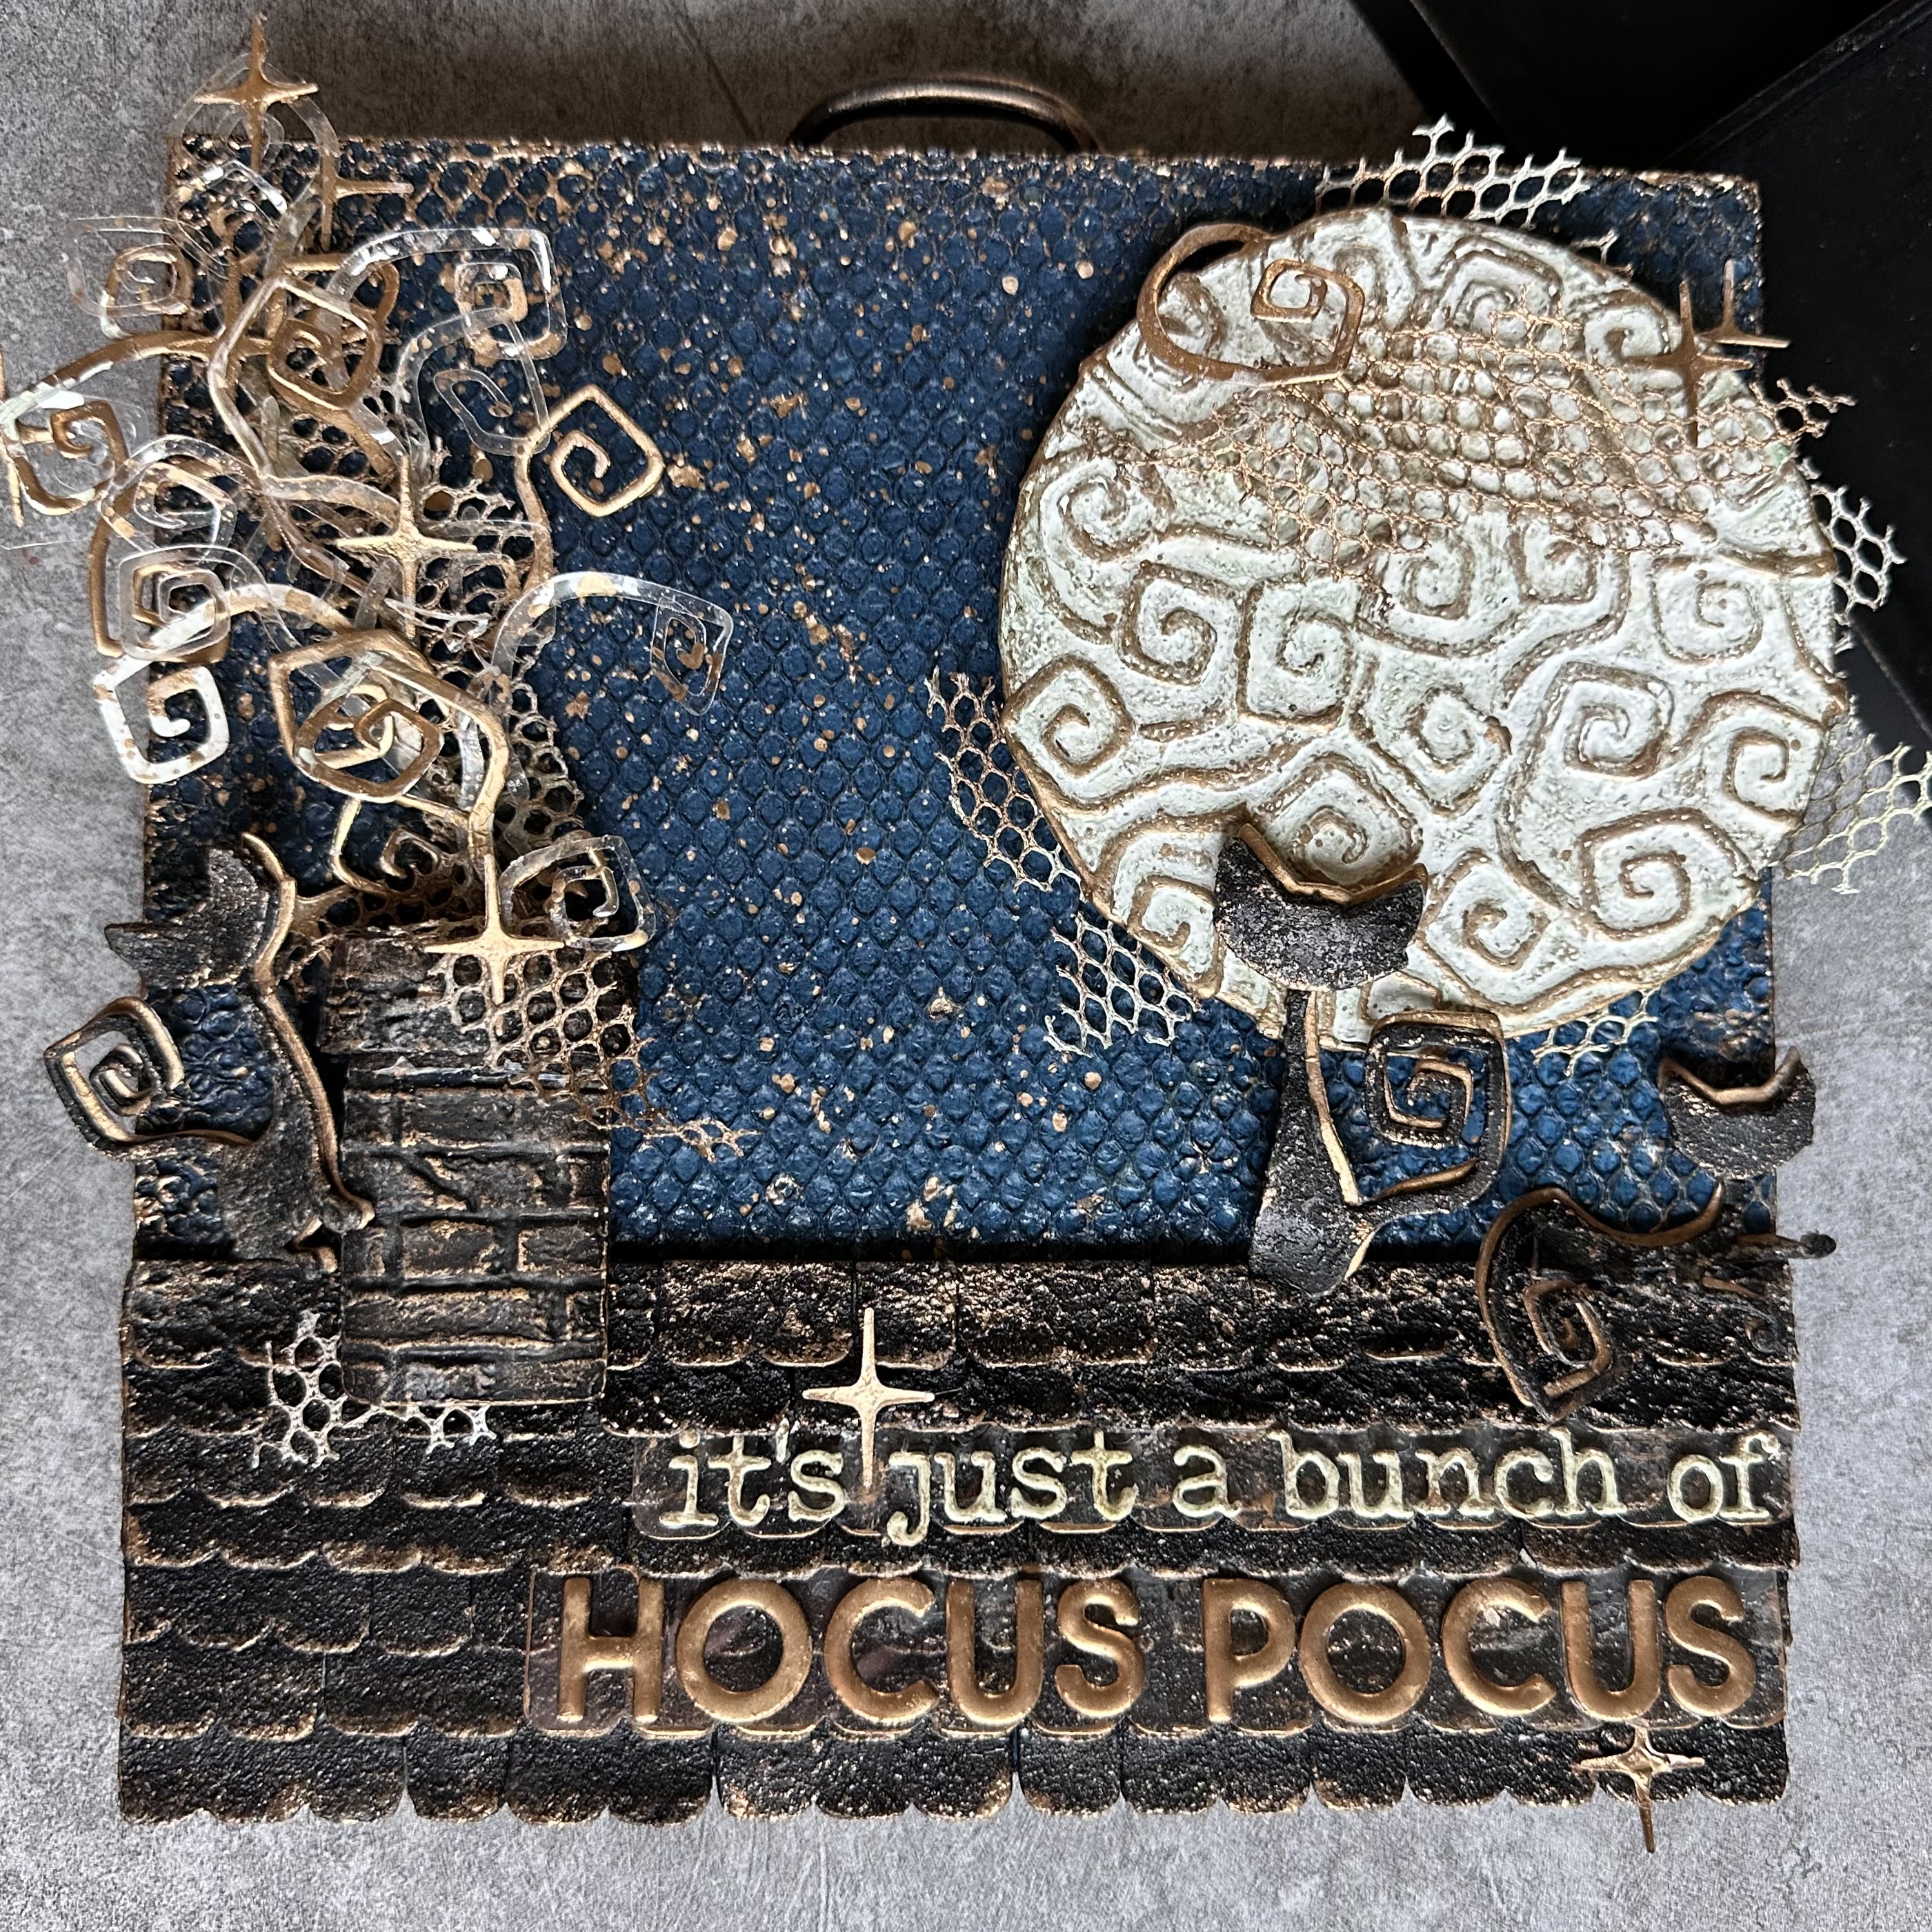
Decided it needed more shimmer and sparkle to give it that magical vibe ✨ and what better twinkle than the mirrored stars! Going back to buy 4 more packs, consider me obsessed!
Added some ‘collars’ to my kitties with Statue-embossed jump rings + a mysterious key 🔑
The cobwebs were also a last-minute idea, but I can’t remember which Tim Holtz set included this clear acetate sheet (it’s driving me crazy, sorry!)… I fussy cut around a few pieces before gluing/clamping in place and adding Statue to the edges. Stuck a ruler under the bottom one and added a couple spiders around the chimney 🕷️

Picked a few stickers from the Halloween sticker book and added Statue to the edges, and tucked in a few more pieces of netting to help tie everything together.


Welp, that’s a wrap on that! I hope you like it! I’m officially switching gears to focus on some Christmas projects, my FAVE 🎄
Thanks so much for stopping by and happy crafting! ❤️
x Erin

The Products…
Surfaces… 8x8 art panel, mixed media heavystock paper, clear acetate
Dies… Mischevious Cats, Stitched Circles, Decorative Trim, Bold Text Halloween, Tiny Type Lower, twinkles from the retro repeat set, Specimen and Postale (for the chimney)
Embossing folders… Brickwork
Mediums… collage medium, embossing dabber, clear embossing powder, opaque grit paste, Statue Foundry wax
Distress Paints… Uncharted Mariner, Antique Linen, Black Soot
Ideaology… spiders, ruler from the measurements pack, keys adornments, jump rings, tiny clip, mirrored stars, Halloween stickers, memo pin, handle from the mini hardware set, hardware heads
Other supplies… fabric netting, heat tool, glass mat, Big Shot, mini clamps