Hey there! Hope you’re having a nice summer ☺️ The days are just flying, aren’t they!? Sharing an ombré clover creation today, full of Tim Holtz faves 🍀

Here’s a rundown of how this project came together ✨
The Background…
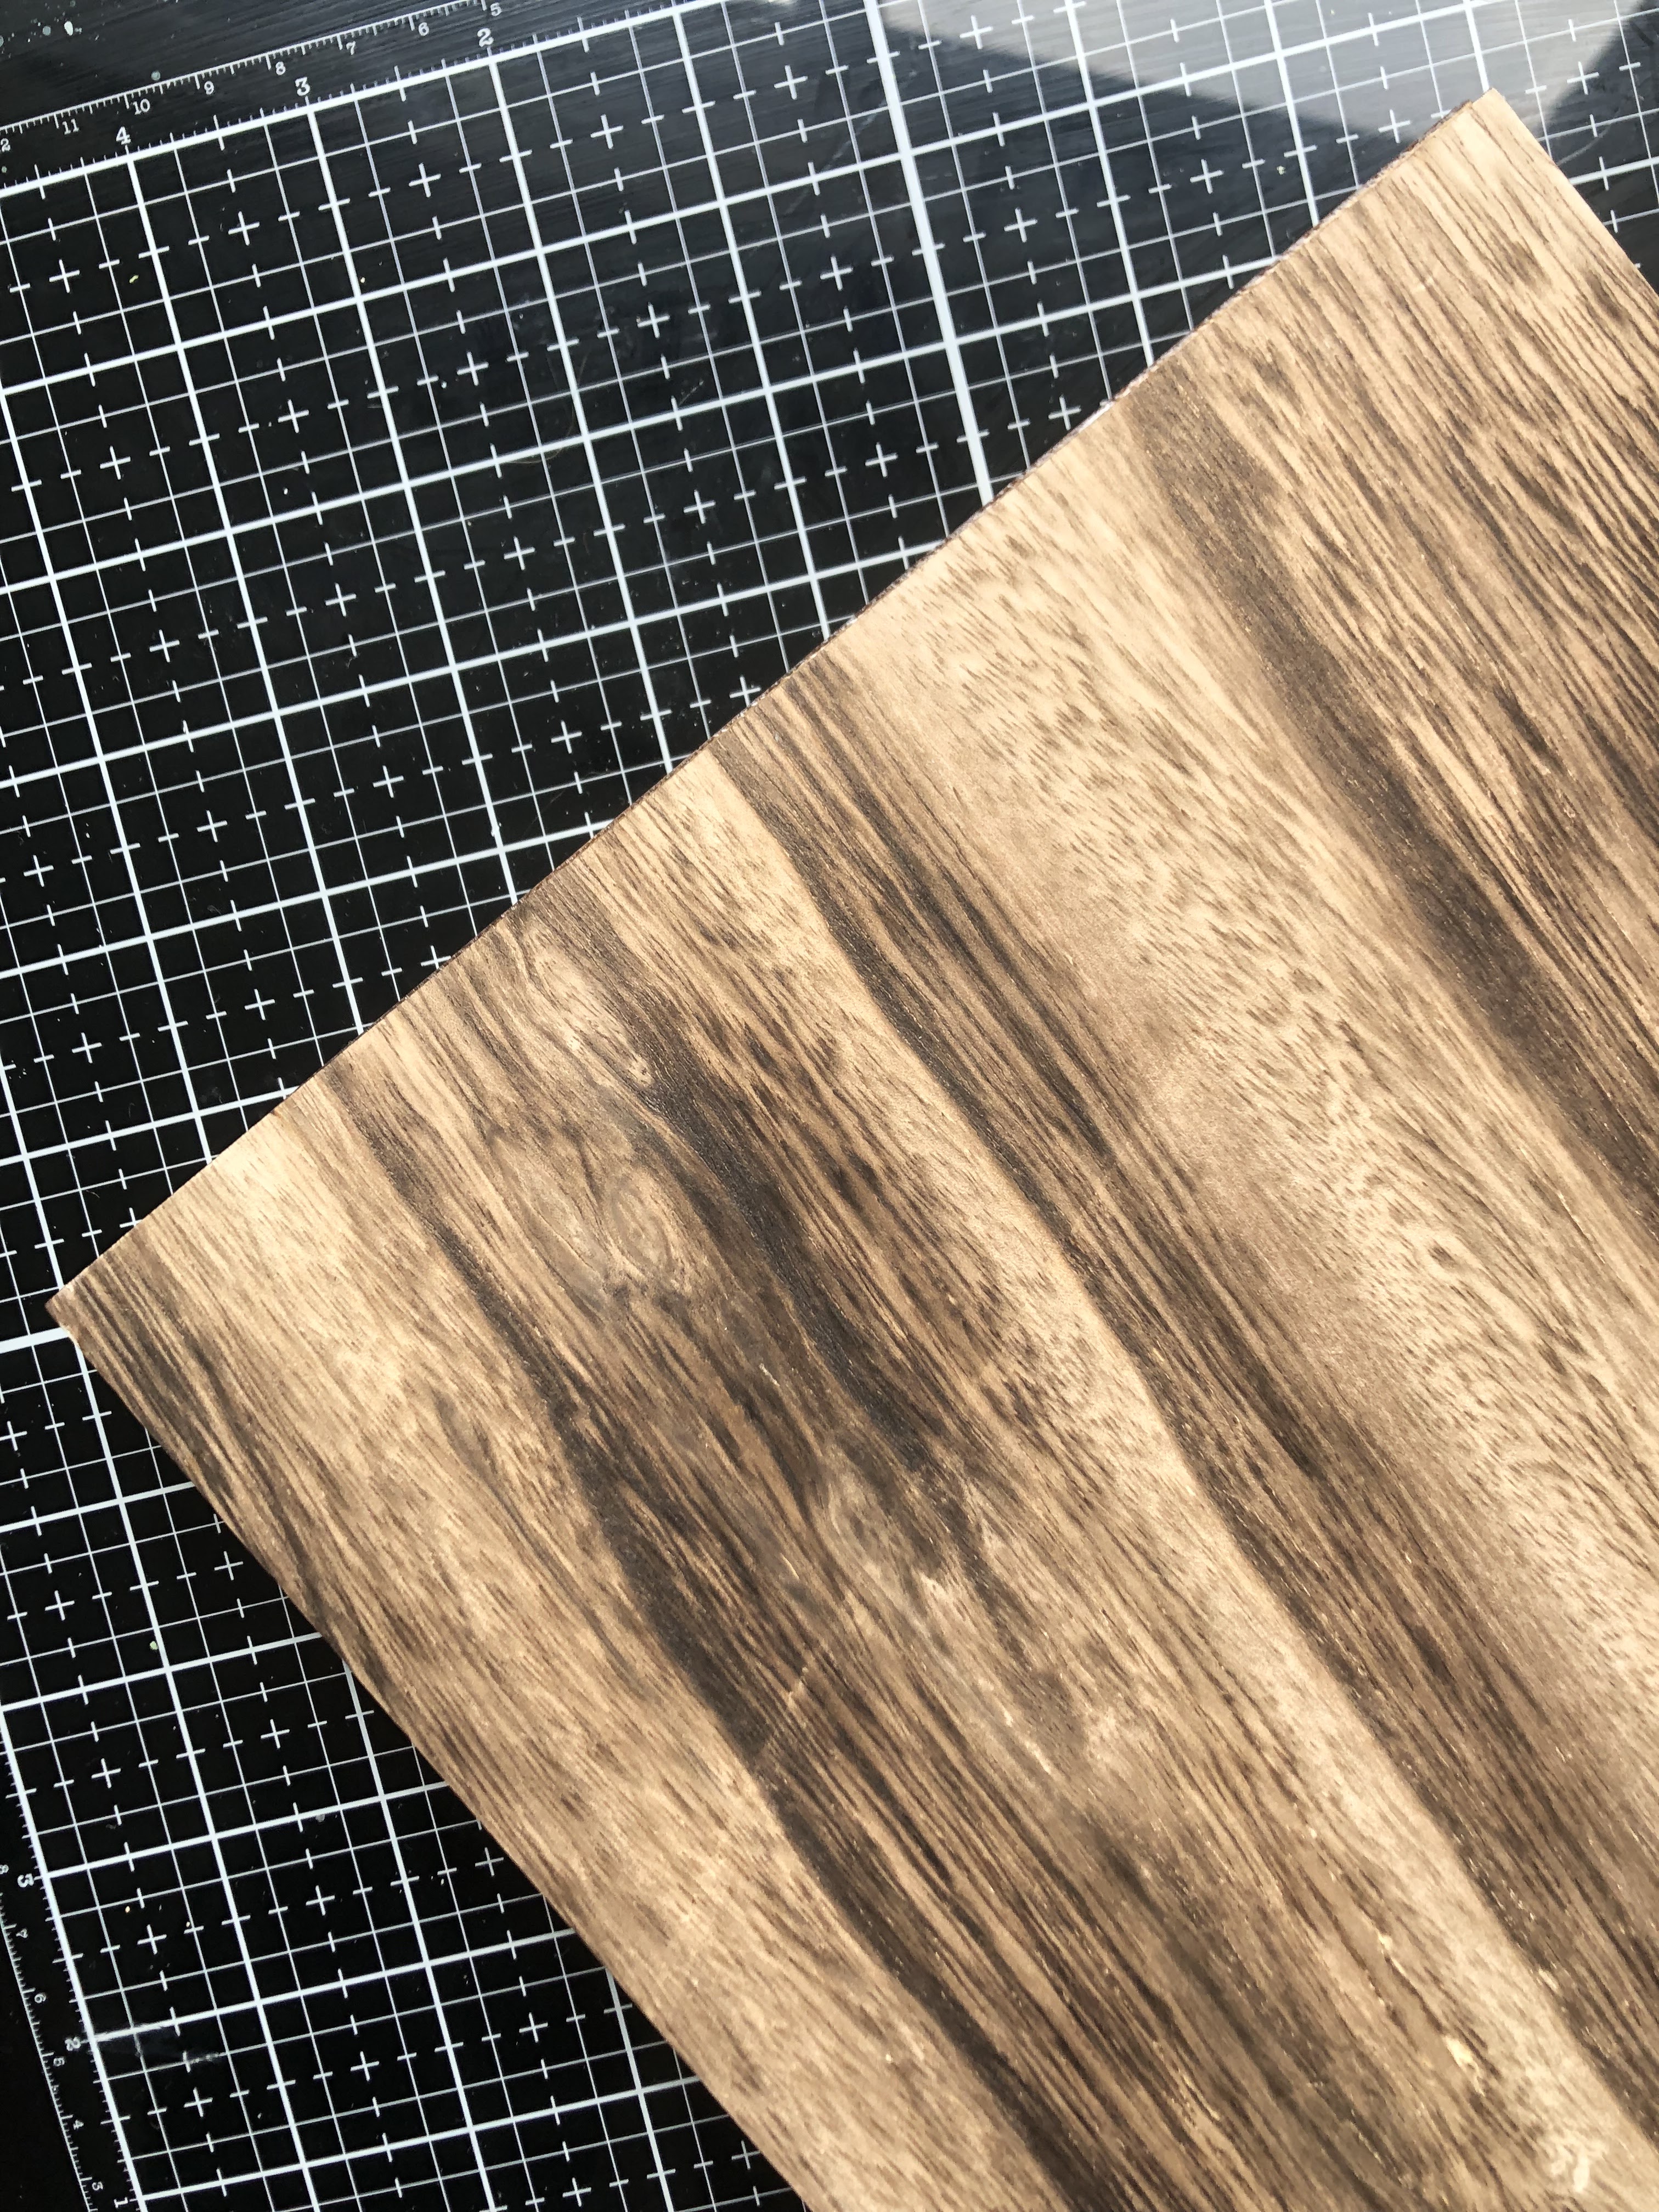
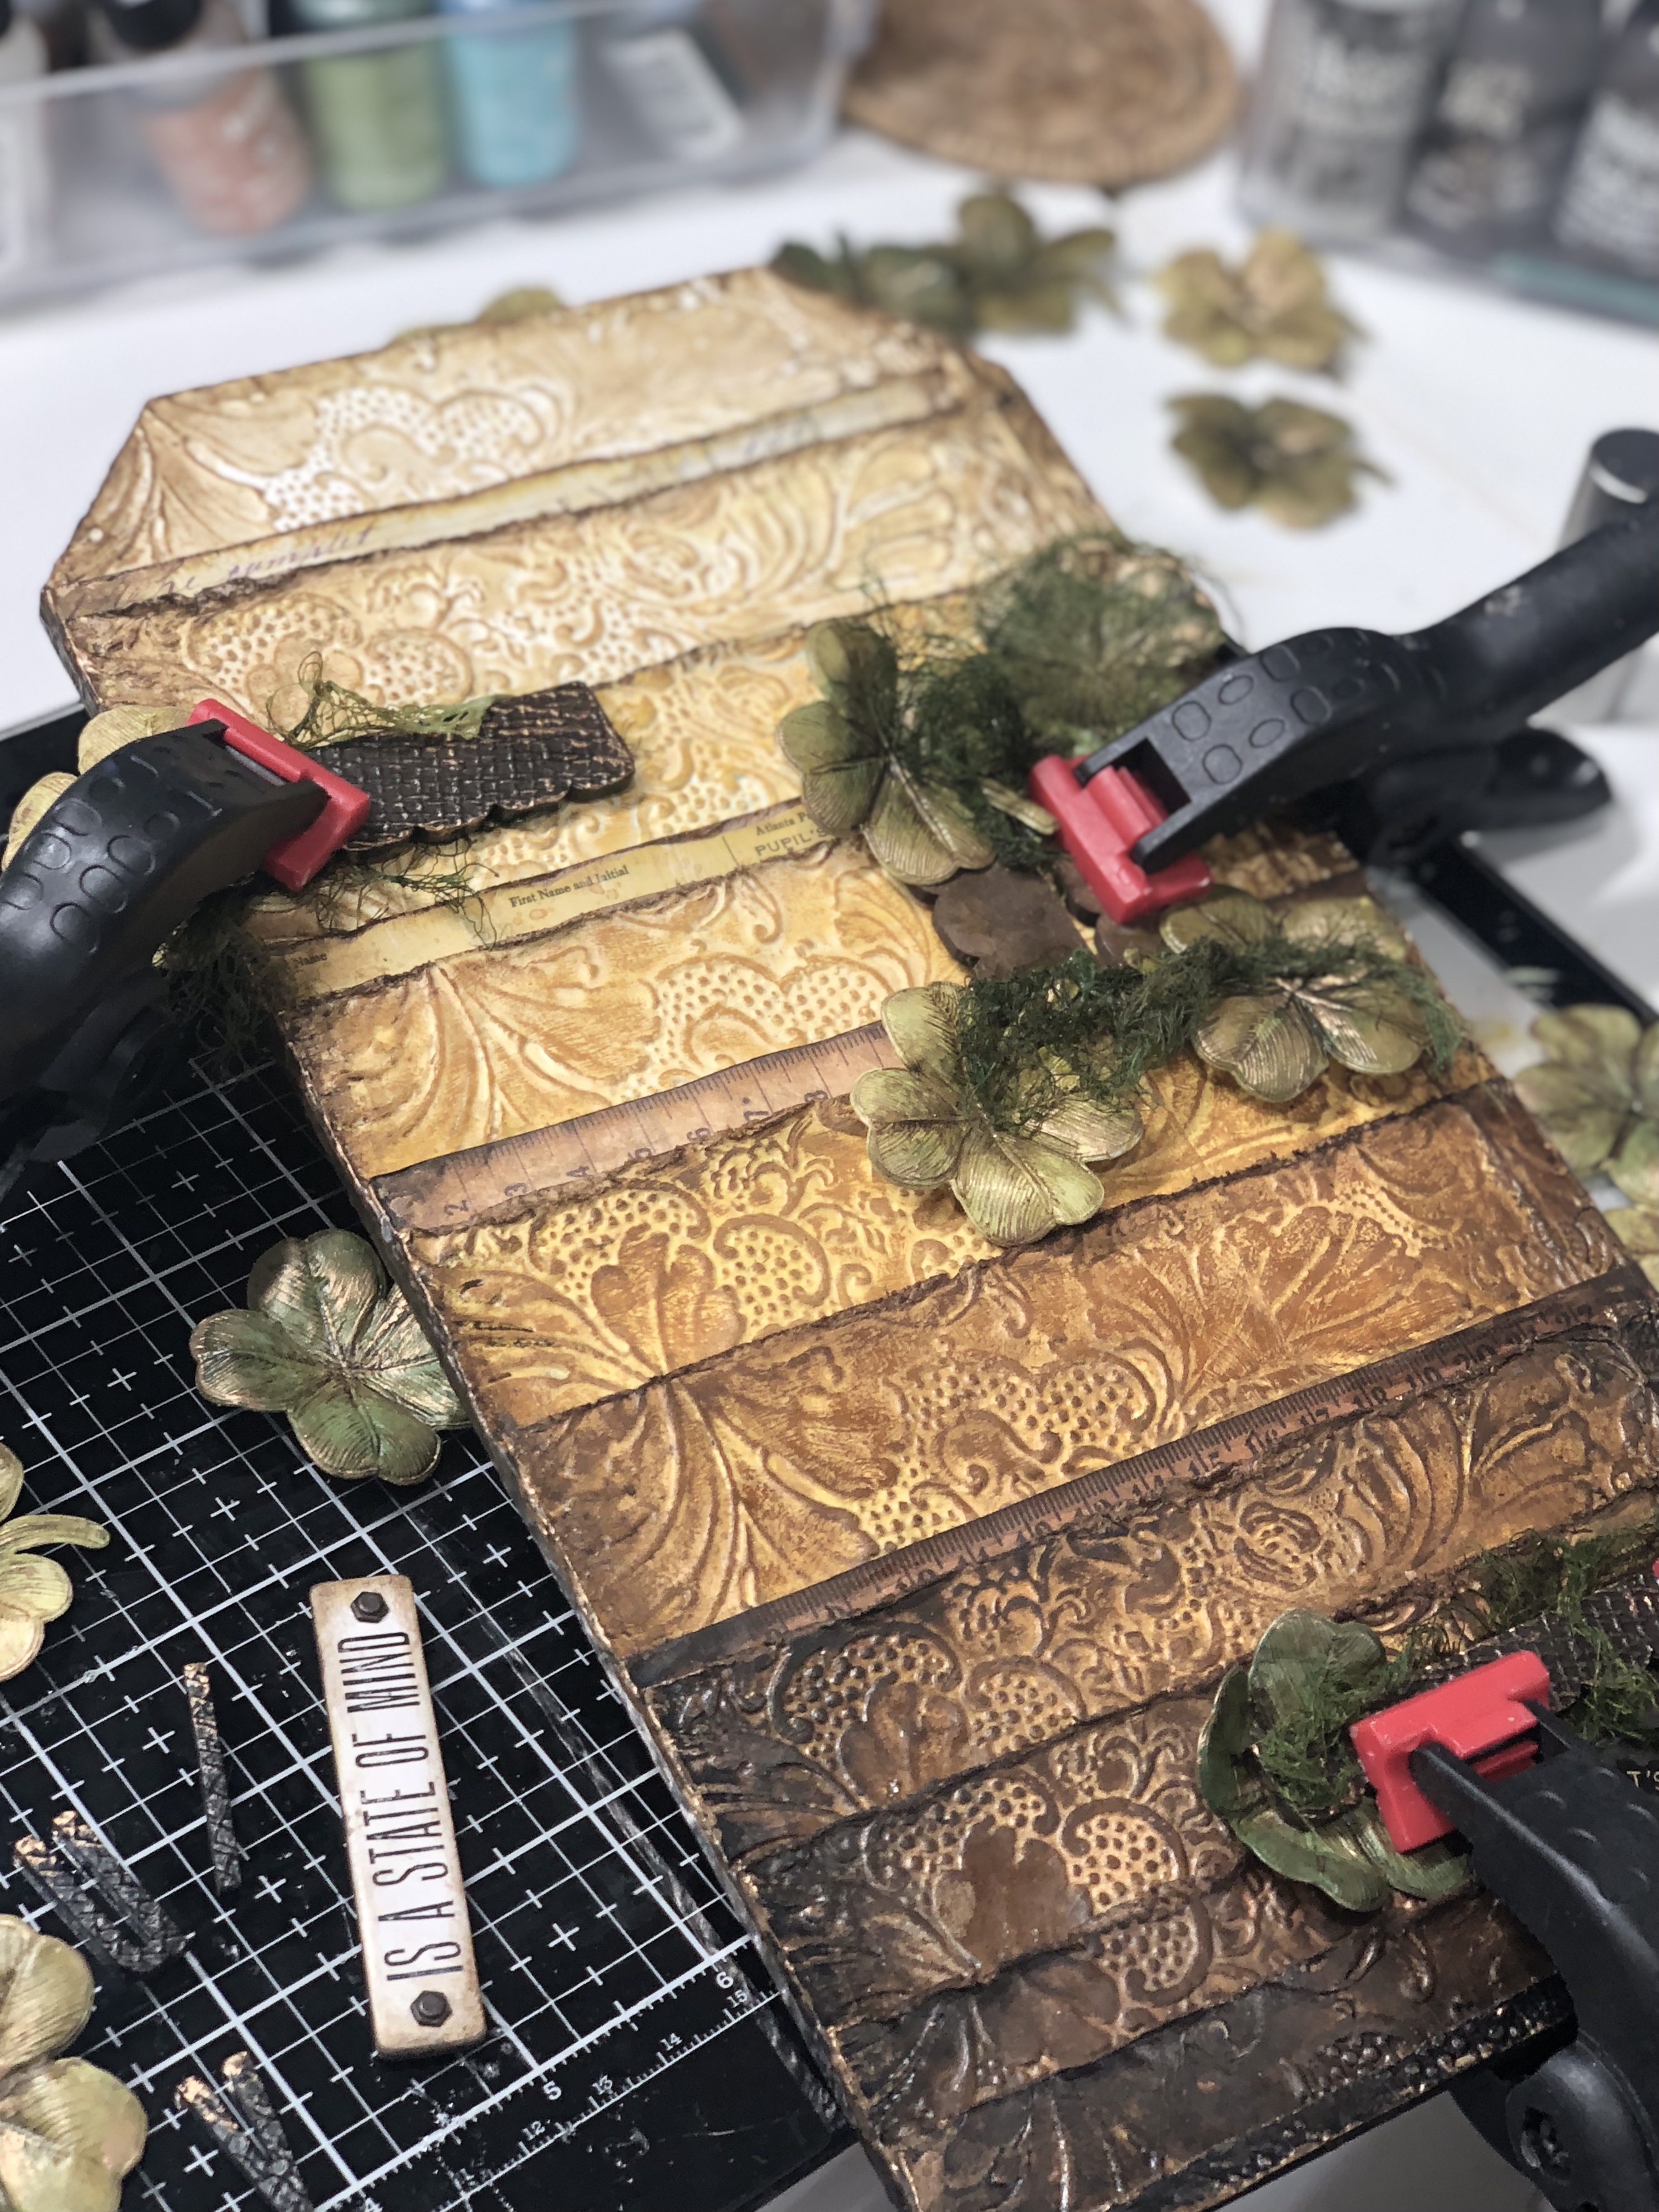
Used the Damask 3D embossing folder on 4-5 pieces of heavystock (that texture! 😳)

Trimmed the edges, cut each piece in half, then painted with cream, yellow, and brown tones

Sealed with matte medium, then added paint highlights over the raised texture with my finger

Distressed the paper edges and applied a wash of Vintage Photo stain

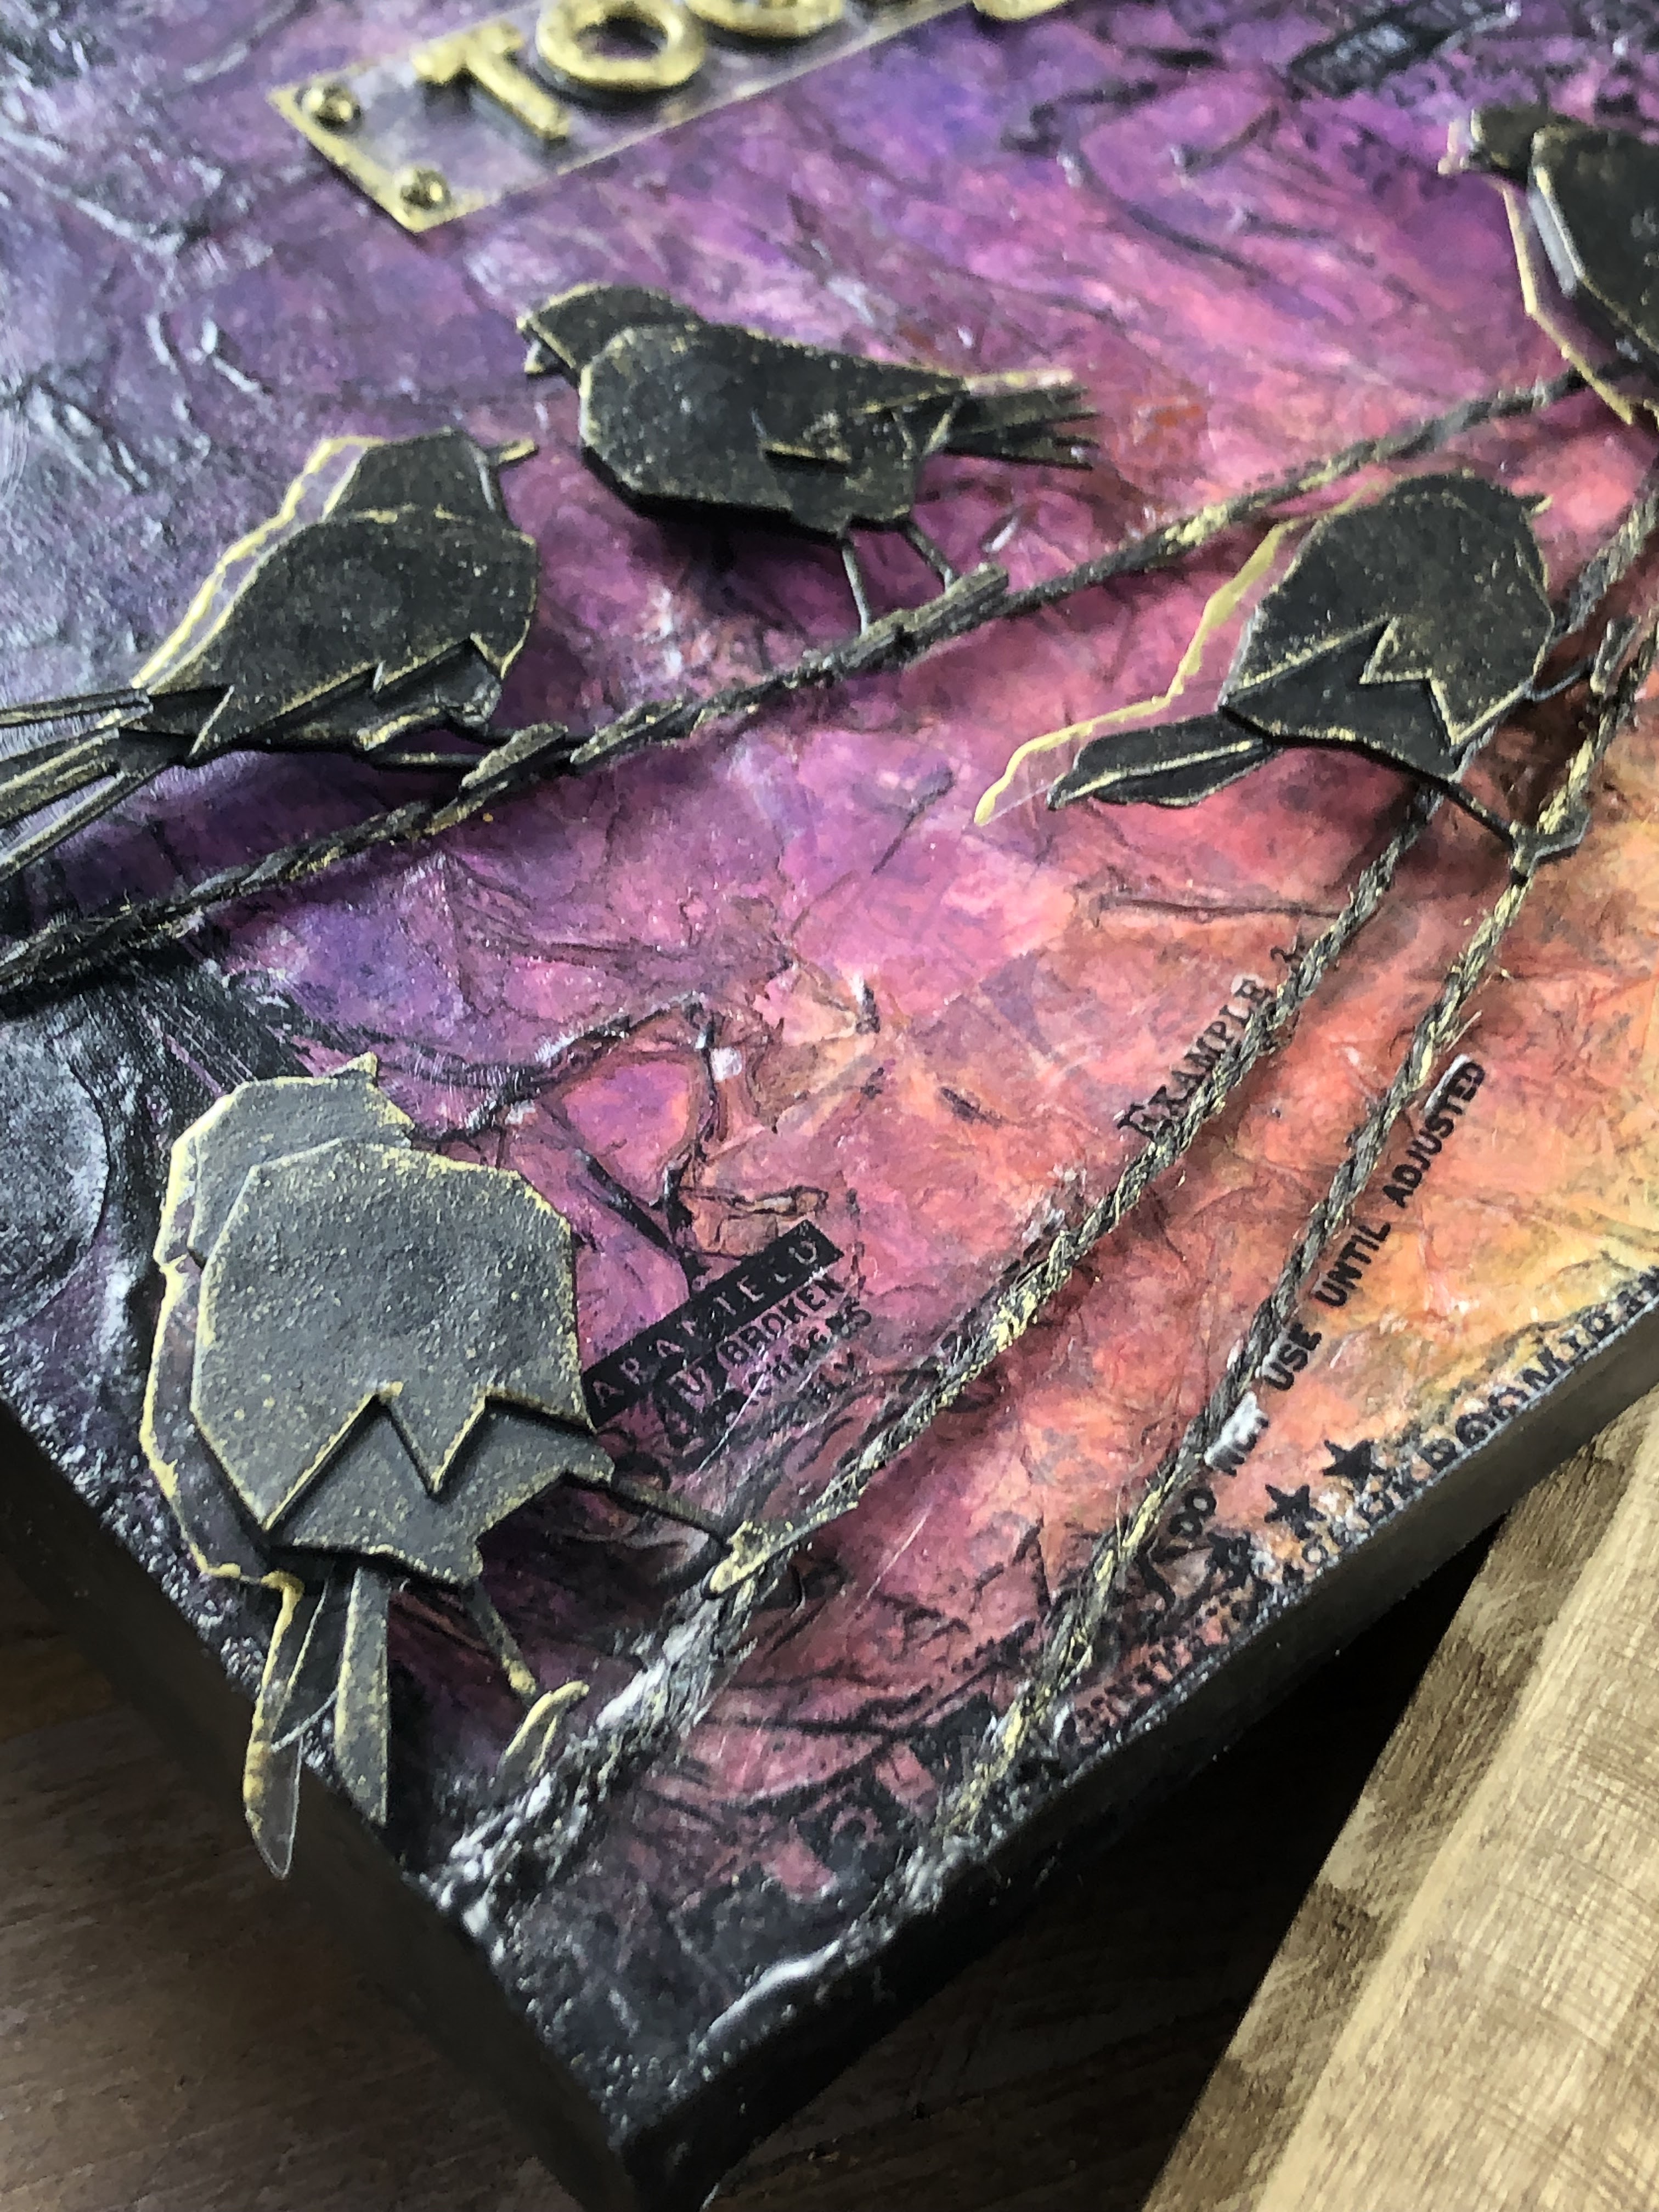
Glued my papers + some ephemera bits over a large thickboard tag, starting at the top, and trimmed edges with a razor blade (on a cutting mat )

Covered exposed edges with a thick coat of matte medium, let dry

Painted my edges with Ground Espresso, added some Statue wax highlights and heat set

The Clovers…
Cut a bunch of the Clover 3D Impresslits from heavystock paper

Painted with Peeled Paint, Shabby Shutters, and Rustic Wilderness, with accent colors in centers

Added some watery Ground Espresso to the centers/seams and let dry, then added a few Statue wax highlights to the edges

The Basket…
Cut 3 sets of pots from Potted 2, embossed one set with the Intertwined folder

Glued the layers together, used extra collage medium around the edges to fill any gaps

Painted with Ground Espresso, then rubbed on Vintage Photo highlights with my finger

Painted a few mounting dots with Ground Espresso, glued behind rim to elevate

The Sentiment…
Cut 4 sets of LUCKY from the Classic Lower font set, embossed one set with Woven folder

Glued the layers and painted with Ground Espresso… later, I went back over them with Black Soot to give more contrast and added Statue wax to the tips

Used “lucky is a state of mind” quote chip, covered up the “lucky”, and distressed edges with Ground Espresso, added 2 caramel-inked hardware heads to the ends

The Finishing Touches…
For my ‘accent ledges,’ I cut some pieces of heavystock Decorative Trim, then embossed with the Woven folder… Glued these over two scalloped trim chipboard pieces, then painted with Ground Espresso and added Statue wax highlights

The wishbone and clover are both from the Adornments Lucky set, painted both with Ground Espresso, added Statue wax, heat set
“it’s all perspective” strip is from the metallic sticker book, painted a tiny clip with Ground Espresso, added Statue wax to the sticker edges and clip, then heat set
Cut a few jagged-edged pieces of Filmstrip ribbon to tuck in, and used to elevate my LUCKY letters
Sprayed cheesecloth with Peeled Paint, Rustic Wilderness stains to mix in with my clovers

Glued my elements over my background with collage medium, and clamps for extra hold 💪🏻
And voila, my clover project is complete! 🍀

I’m definitely lucky in my life and super thankful for this fun hobby and supportive community 🫶🏻 Thanks for looking, happy crafting!
x Erin
The Products…
Dies… Clover, Potted 2, Classic Lower, Decorative Trim
Surfaces… white heavystock, Etcetera large tag thickboard,
Mediums… collage medium
Distress Paint… Antique Linen, Black Soot, Fossilized Amber, Ground Espresso, Peeled Paint, Rustic Wilderness , Scattered Straw, Shabby Shutters, Vintage Photo, Walnut Stain
Distress Crayon… Vintage Photo, Walnut Stain
Foundry Wax… Statue
Alcohol Ink… Caramel
Ideaology… adornments lucky, hook clasps, metallic sticker book, tiny clip, hinge clip, hardware heads, film strip ribbon, Theories quote chip, ephemera
Other… glass mat, Big Shot, heat gun, cheesecloth, mounting dots, clamps