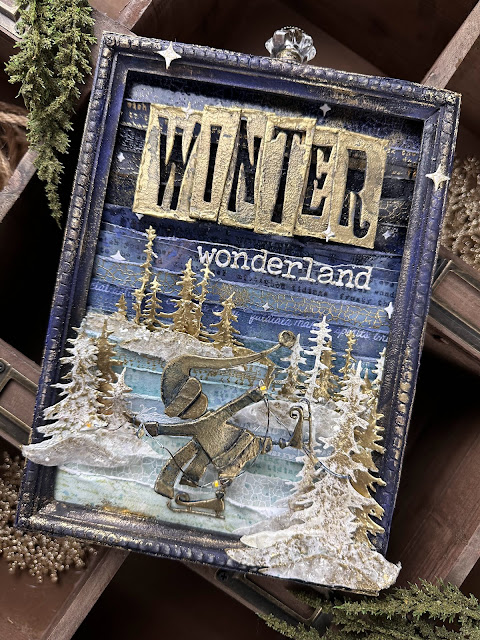
Hello! Hope your holiday must-dos are winding down and the get-to-dos are a-plenty! ☺️ I’m sharing this festive, super-layered make with a cute elf and LIGHTS 💡💡 so glad I finally tried these! This project was a labor of love but so fun and the background turned out fab, got my gradient fix for a bit 🤤
Here’s how she came together 👇🏻
The Background (Papers)…
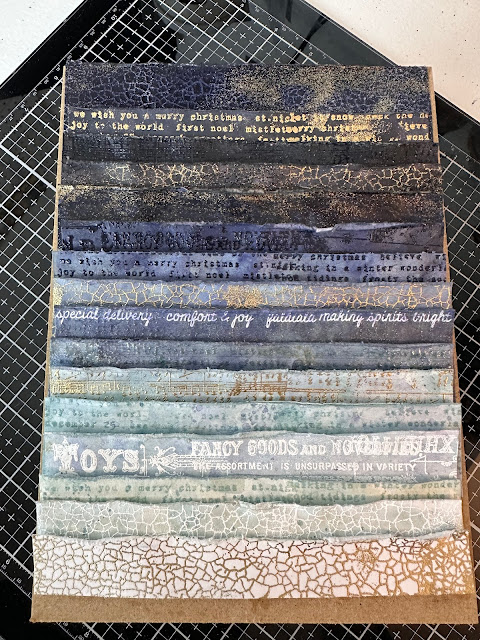
Cut some strips of white heavystock and splotched on a few layers of watery Speckled Egg and Chipped Sapphire paint…
Ended up adding a few darker strips later, then cut all in half again for extra stamp variety…
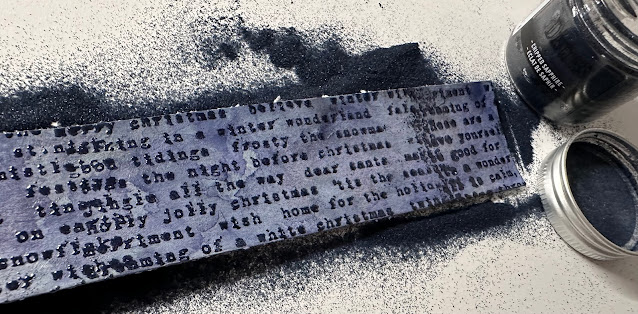
Next came clear emboss ink + various holiday stamps + matching distress glazes and heat set, then one final top coat of collage medium to seal everything… love! 😍
The Frame…
I painted the frame from a framed panel with a mix of black soot + chipped sapphire
Then I taped my mini lights around the underside of the frame, leaving some of the strand out for my elf to hold
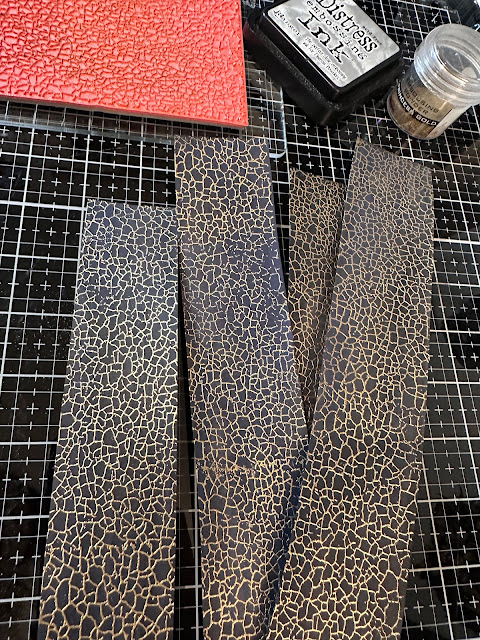
To hide my messy edges… I cut four strips of heavystock and painted with a mix of black soot + chipped sapphire, then I stamped the strips with the crackle stamp + princess gold powder and heat set
I trimmed them the exact length of each of the four sides, scored and trimmed the corners, then glued and clamped
The Elf…
I cut four of the elf from the Thin Ice set out of heavystock paper and drew on some of my own details
Once I had my layers cut and assembled, I glued together with collage medium and added an extra goopy layer on top to help blend some seams + add texture
Next, liberally covered with clear emboss ink, sprinkled on Princess gold powder and heat set, followed by a wash of chipped sapphire paint to help define the levels/texture
The Winter Wonderland Letters…
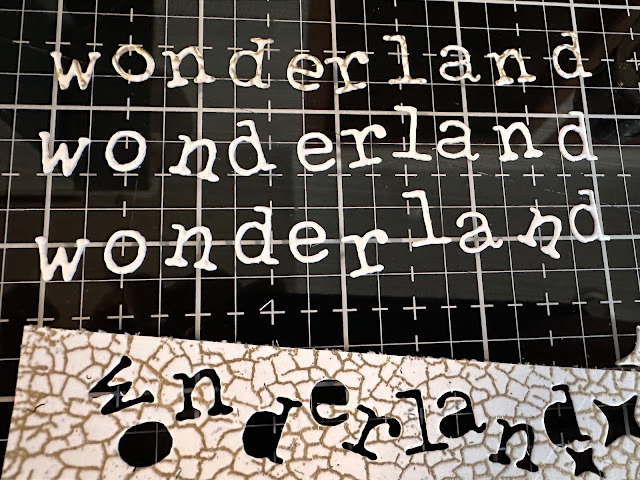
WINTER… Used the Bigz Handmade font set to cut my winter letters from chipboard, using the negative space around the letter as a letter tile
Gave each letter the same treatment as the elf… Covered with clear emboss ink and Princess Gold powder then heat set, followed by a wash of Black Soot paint over the top to grunge them up a bit
Glued them down on a strip of clear acetate
The Trees…
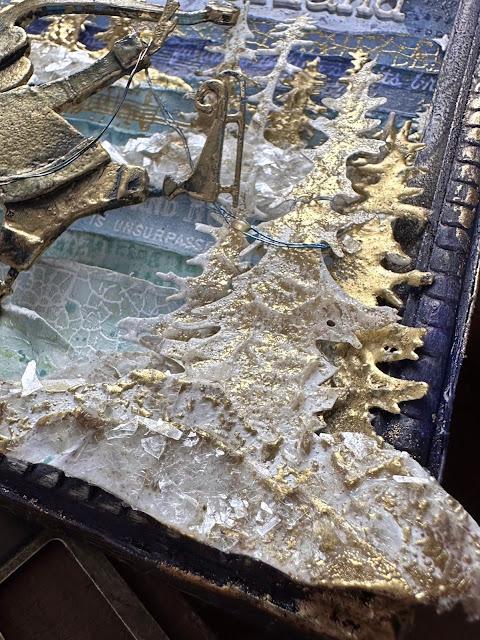
Cut lots of Forest Shadows dies out of heavystock paper then added grit paste… once it was dry, I fully covered the smaller trees with Princess gold, only a sprinkling on the larger
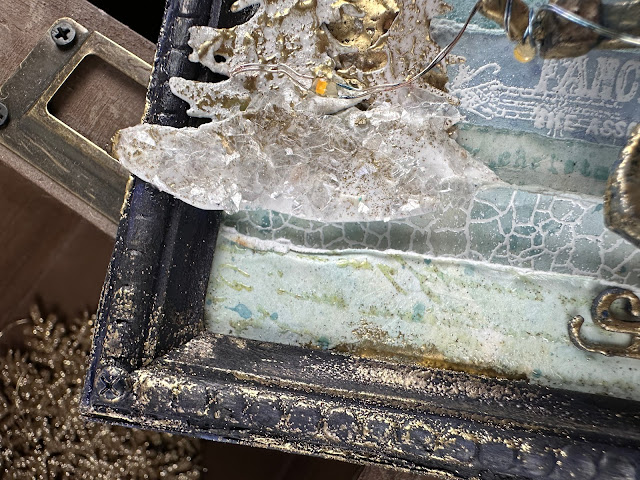
For my snow banks… I cut the bases off of some unused trees, added gold embossing, followed by sprinkled on clear mica flakes
The Finishing Touches…
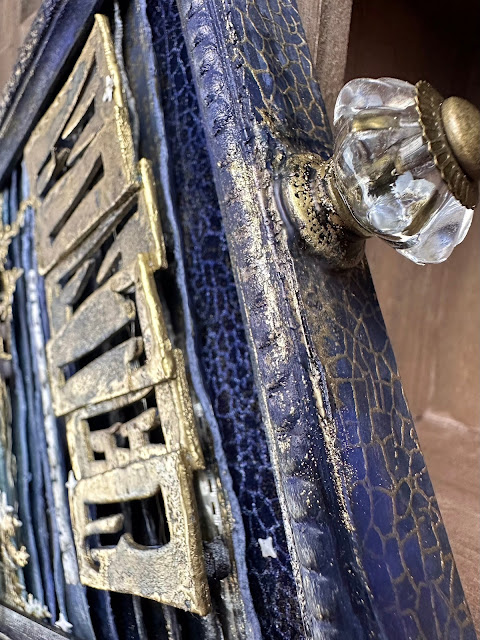
The crystal knob at the top is from the mini Hardware set
Annnnd that’s how my project came together 🔚 Hope you like it! I sure enjoyed making it ☺️ Thanks so much for looking! Sending you all warm (and crafty) wishes! 💫
x Erin
The Products…
Surfaces… framed panel, mixed media heavystock paper, clear acetate
Dies… Thin Ice, Forest Shadows, Tiny type lower, Bigz handmade font
Mediums… collage medium, grit paste, clear mica flakes, clear embossing ink
Ranger Princess Gold Embossing powder
Stamps… crackle, holiday music, holiday tiny text
Distress paint… Speckled Egg, Chipped Sapphire, Black Soot
Ideaology… mini hardware, mini hardware heads
Other… mini mounting dots, heat tool, glass mat











No comments:
Post a Comment